Set Up and Calibrate FPVSIM Timer Solo on iOS
Connect FPVSIM Timer Solo to an iPhone or iPad, complete setup, and calibrate it for consistent lap detection.

Assemble the FPVSIM Timer Solo hardware and complete its first-time software setup.
This legacy Timer Solo walkthrough shows how to move from the timer's own hotspot to a separate router, reserve a stable network address, and understand the manual RSSI values used for lap detection.
The recorded screens predate the current Timer app. Menu names may have changed, but the durable sequence is still useful: make a direct connection, give the timer the router credentials, reconnect through the router, reserve its address, and calibrate on the real course.
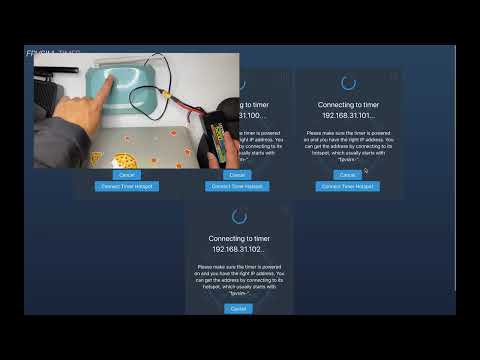
Join the timer's own Wi-Fi network and connect from the app. This direct path is the recovery route if the router details are entered incorrectly.
In the timer network settings, enter the exact 2.4 GHz SSID and password, save, and reboot the timer.
Reconnect directly if needed and note the IP address the router gave the timer. Then move the phone or computer onto the router network and connect to that address.
Copy the timer's current IP and MAC address into the router's DHCP reservation screen. A reservation prevents the address from changing after a reboot.
Observe several representative passes. A pass begins above the enter threshold, reaches a signal peak, and completes below the leave threshold; the peak time becomes the crossing time.
Fly normal laps and inspect the saved history. Leave the default sensitivity values alone unless the trace shows a repeatable reason to change them.
If the timer disappears after saving router settings, reconnect to its hotspot and recheck the SSID, password, and 2.4 GHz availability. Do not begin threshold tuning until the network connection is stable.
This transcript was cleaned from the public English captions. Router labels and manual calibration controls reflect the app version shown in the video.
About 00:00
Power the timer over USB, join its hotspot, and connect from the Timer app. To use your own router, open the router settings and enter its Wi-Fi name and password. The timer's ESP32 radio supports 2.4 GHz, so the network cannot be 5 GHz-only. Save the settings and reboot.
About 01:30
Connect directly to the timer again and look for the IP address assigned by the router. Put the app device on that router and connect to the timer at the displayed address. For a race computer, an Ethernet cable from the computer to the router is the most reliable arrangement shown here.
About 03:00
A router may give the timer a different address later, so create a DHCP reservation. Copy the current IP address and the timer's MAC address into the router's reservation page, save the change, and reconnect. The exact router screen will differ by manufacturer.
About 04:30
Next, review calibration. As a quad approaches, its RSSI rises above the enter value, reaches a peak, and then falls below the leave value. Enter plus leave makes a valid pass, and the strongest point is used as the pass time. The default sensitivity values are normally a good starting point.
About 05:20
Before changing the values, place the timer so nearby parts of the course do not produce signals as strong as the timing gate. Then fly representative passes, study the trace, and make small changes only when the evidence shows they are needed.
The ESP32 timer demonstrated in this tutorial joins a 2.4 GHz network. The app device may use another band if the router bridges both bands onto the same local network.
The app connects to a specific local address. A DHCP reservation keeps the router from assigning a different address after a lease renewal or reboot.
Rejoin the timer hotspot and verify the SSID, password, and band. Also confirm that the timer is within range of the router before trying again.
No. Those values belong to that hardware placement and course. Begin with current defaults or automatic calibration, then validate with your own normal passes.
Keep learning
Connect FPVSIM Timer Solo to an iPhone or iPad, complete setup, and calibrate it for consistent lap detection.
Configure a dedicated router for the first time to give FPVSIM Timer a stable race-day network.
Choose and configure a dependable 5 GHz Wi-Fi setup for low-interference FPVSIM Timer events.