FPVSIM Timer 3.0 puts the post-event RSSI timeline, missed lap correction, independent entry and exit thresholds, player CSV import and random grouping into the same workflow. The video also demonstrates how physical timing gates can reduce lateral signal false triggers, and briefly previews OBS timing overlay; all menus and restrictions should be understood according to the 3.0 historical interface.
First use physical arrangement to improve signal readability
The timing software can only determine the gate pass based on the received RSSI signal, so the position and directionality of the physical gate directly affect subsequent data. The use of a deeper, non-metallic box for the video allows the timer to primarily see aircraft passing along the door axis, reducing the high RSSI spikes that occur when circling from the side or nearby. The material avoids metal in order to reduce the additional uncertainty caused by shielding and reflection.
This structure is a solution in the demo and is not the only size or shape that all venues should copy. Track speed, video transmission power, antenna orientation, metal around the door and flight lines will all change the signal. After installation, the aircraft must be allowed to pass through the planned route, the side and the door respectively, and it must be confirmed that it can stably cross the threshold only when it actually passes through the door, and then determine the depth of the box and the position of the timer.
What problems do real-time RSSI graphs and event history each solve?
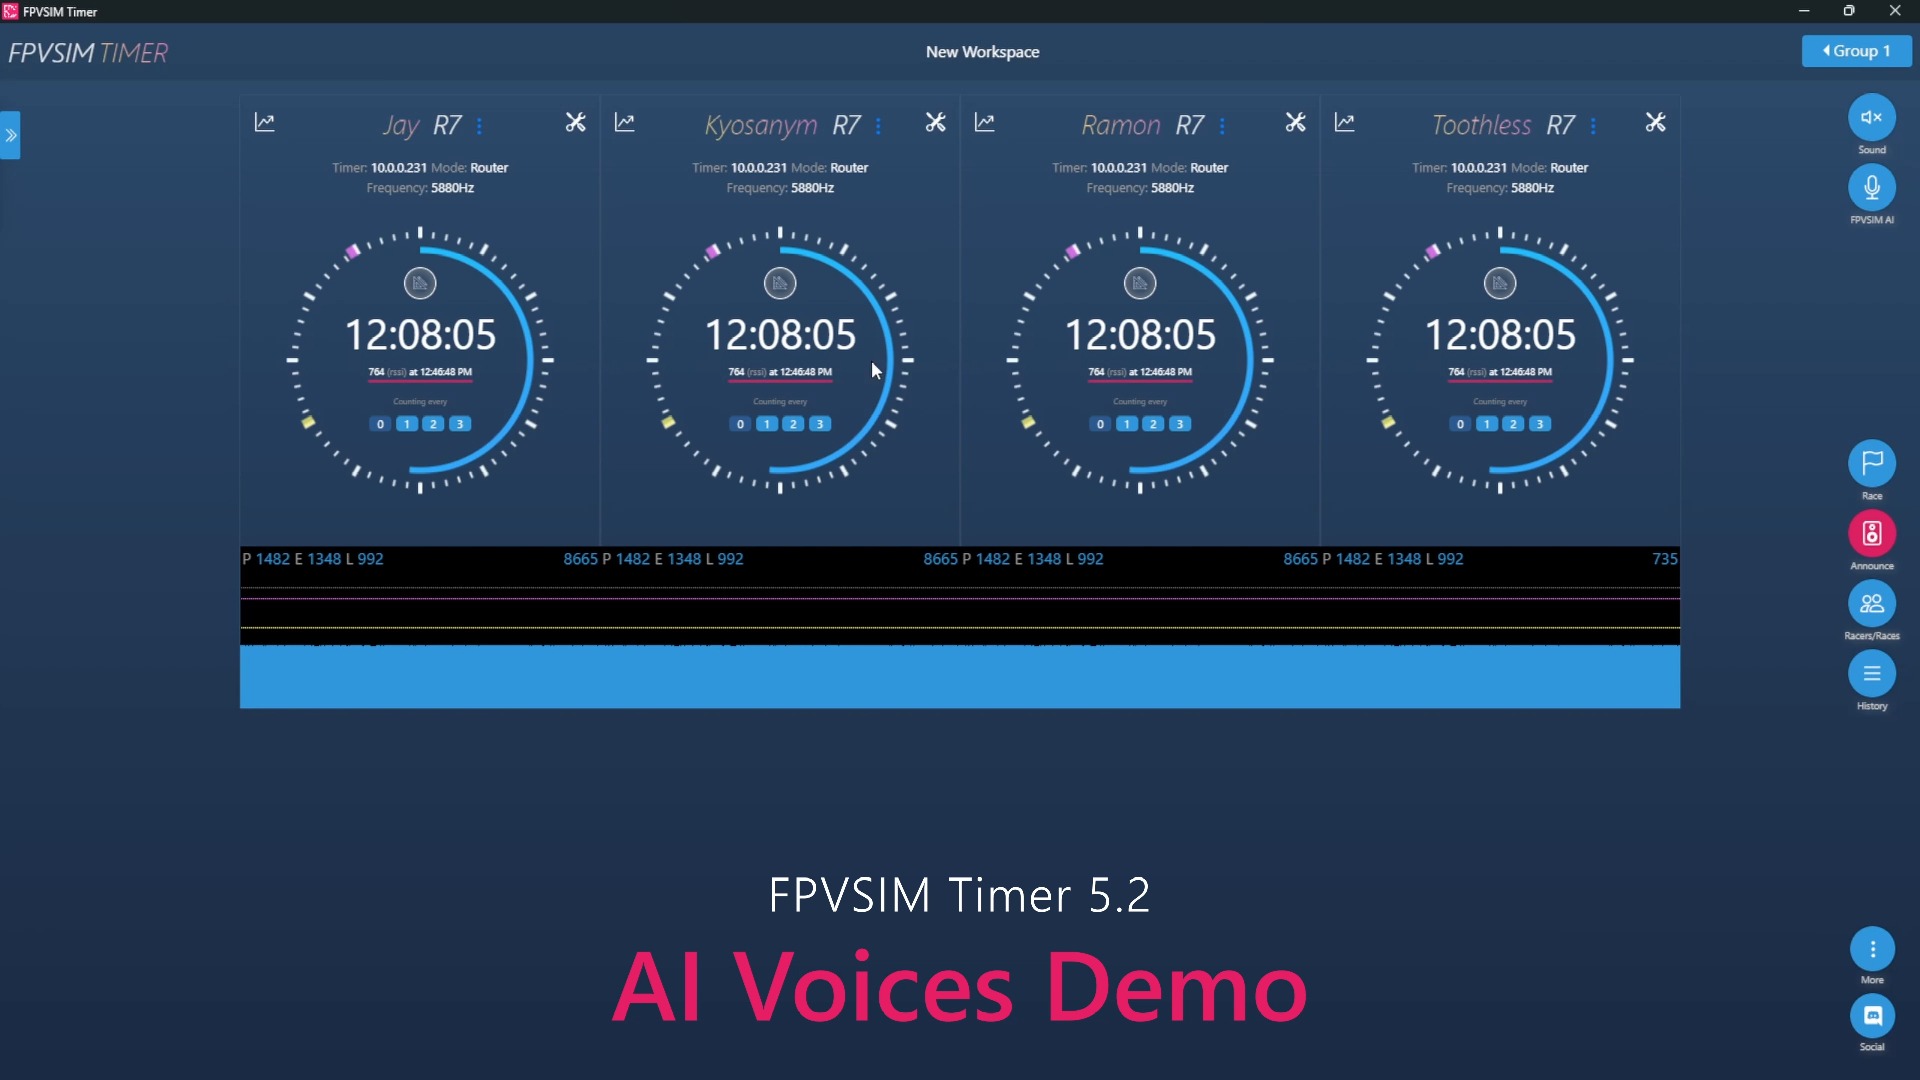
During flight, Timer 3.0 will record the changes in RSSI over time on a real-time graph. Each pass through the timing area usually forms a peak, and timing events are overlaid on the timeline as lines. The real-time view is great for seeing if a signal clearly crosses a threshold; the post-event historical view is great for rendering the entire session, dragging the timeline and examining all peaks alongside recorded laps.
The purpose of the historical chart is not to allow the staff to change the results arbitrarily, but to provide original signal evidence in the event of disputes or suspected missed timings. The player, channel, start time, and original record should be retained during review, and only be modified when the peak shape, time interval, and on-site conditions support each other. If the signal graph does not have a clear peak, manually guessing a circle will weaken the credibility of the result.
Use adjacent peaks to recover suspected missing rings
Video about 04:29 demonstrates a recovery method: first place a reference line on a credible pass event, then find the next RSSI peak that has not been recorded as a lap but has a reasonable shape, and compare the time difference between the two. The real interval in the example is about 16.60 seconds, while the system originally recorded it as 17.52 seconds; the staff edited the circle accordingly and ended the editing.
Time difference is only part of cross-validation. It should also be checked whether the suspected peak crosses the threshold and whether the rhythm of the front and rear laps is reasonable, and combined with on-site observation to rule out players staying near the door or other channel interference. After completing the modification, the reason for the modification, the original value and the new value should be recorded before submitting to the event; it is also necessary to define in advance in the official rules who has the right to modify and when to stop accepting appeals.
Adjust entry and exit thresholds separately
Timer 3.0 You can click on the peak value on the RSSI graph to assist in setting the threshold, and adjust the thresholds for entering the timing area and leaving the timing area separately. Different entry/exit values can create hysteresis, preventing signals from being recognized repeatedly when they jitter around the same threshold. When setting up, you should first collect actual passing and non-passing samples, rather than putting the threshold on a beautiful peak and ending it.
The video also suggests that threshold behavior within the same shared link can be correlated. Before modifying a receive chain or channel, confirm which timers share the configuration and retest all relevant channels. If the threshold is too low, lateral false touches may occur, while if it is too high, weak signals or high-speed crossings may be missed; it is necessary to find margin under the real image transmission power and competition lines.
Import players in batches and randomly group them
You can download the CSV template in the Pilots tab, fill in the template and import it in batches. The video example imports 51 players at a time, and then automatically randomly distributes them according to the number of people in each group, generating 14 groups. Compared with manual entry one by one, this can reduce spelling and missed entries, but the premise is that the template column names, coding and data formats are strictly retained.
When the grouping results are inappropriate, they can be cleared and randomly generated again. Formal events should also check rules such as team avoidance, seeding, frequency conflicts, or special formats, because "random" does not automatically understand these constraints. The end of the video only briefly introduces the existence of OBS timing overlay and does not provide the complete construction process; the live broadcast configuration should be completed according to the corresponding guide.
Operation steps
- Verify the directionality of the physical gate
Place timers and non-metallic channels according to the track plan, and conduct real door crossing, lateral flight and door flight tests respectively. The video begins at approximately 00:36 explaining that deep cabinets are used to reduce lateral RSSI false positives.
- Fly and check live RSSI graph
Complete multiple passes using the actual competition power and route to confirm that the peak clearly crosses the threshold and the lateral signals are not accidentally touched; the video enters real-time recording at about 01:39.
- Review suspected missed circles on the historical timeline
Render the history after the event, set a reference line at credible events, and then compare the time difference, shape and context of suspected missed peaks. Edit and document the reasons only if the evidence is consistent.
- Use real peak values to set entry and exit thresholds
Select representative peaks in the RSSI graph, adjust the entry and exit thresholds respectively, and retest all relevant channels in the shared link. The video begins at approximately 06:48.
- Use CSV to import and inspect random groups
Get the current version of the template from the Pilots tab, import the players after maintaining the column structure, and then generate groups according to group size; check the rule constraints, clear and reclassify if inappropriate.
FAQ
Is it necessary to use the deep wooden box in the video for the timing door?
Not necessarily. The video shows a method of using deep non-metallic channels to enhance directivity; the optimal size and materials depend on the site, antenna, image transmission power and lines, and must be verified through lateral and door tests.
Can I fill in the circle when I see an RSSI peak?
You cannot rely on a single peak value. Adjacent lap times, whether thresholds are crossed, peak shapes and on-site observations should also be compared, and the data before and after modifications and reasons should be recorded according to event rules.
Why are entry and exit thresholds separate?
Separate thresholds create hysteresis, reducing re-triggering when the signal fluctuates near the threshold. Both still need to be verified with actual passing and non-passing samples.
Will CSV randomization handle seed and frequency conflicts automatically?
The video only shows random assignment by group size, with no proof that additional event constraints are automatically applied. After importing and grouping, the competition format, seeds, and frequency arrangements should still be manually checked.
Full timeline transcript
Transcripts are arranged according to video time, making it easy to quickly locate the explanation content. Transcript language: Simplified Chinese.
Hello everyone, this is QDRK wishing you a happy new year and all the best in 2024. Do you know what the trendy people are saying now? New year, new timer. So here I am very happy to share with you the new FPVSIM timer 3.0. There are many amazing features I want to tell you, but due to the length of this video, here we will pick a few. The first feature is the racing history function. This feature can help you never miss a timer.
This is the timer I'm going to use for testing. It only has one timing unit inside this router. I've been using it for personal timing training. Here we're going to use it to simulate multiple timing contacts. I'm going to put it under this little flag that we're going to fly over from left to right. I'm going to put it inside this holy box. This box will help block signals from other directions.
So the signal is the strongest only when you fly directly above it. This can greatly reduce misreading. If you also have misreading problems, I highly recommend that you use a deep box like this. This box is not a metal box, just ordinary wood, but it is also very helpful. Here we will start the game directly. In 3.0, the first thing you see is the RSSI image that will be automatically displayed.
Then we click to start the race. Now that I'm in the glasses, let me lower the throttle limit a little first. Because I'm recording a video, I don't want to keep bombing in this video. Let's try it. We remember that this timer is deployed under this fluke, right? Here I will quickly set it. You can see the RSSI image below during the flight, which will display the currently read RSSI signal.
Let me be below. If you record a video, I will give you some small tips on detection, how to enable you to read the plane's flight direction, how to set various brightness, how to design the track, etc. Okay, it seems that our time is constantly improving. We have been flying for about four minutes, and then we click
Complete the game. After completing the game, you will see a button here to complete the game. Click it. If the game takes a long time, it may take a little more time to render the game history. You can see many things in the game history. The first one is this scroll bar. You can use this scroll bar to browse different histories. In this scroll bar, it will also display the RSSI of the basket. At the beginning, we saw that the RSSI was very flat. Because I should have turned on my glasses at that time ST0
Then when we start flying, you can see this. The RSSI starts to jump up and down. In this picture, you can also see that there are some vertical lines. These vertical lines are some of the key events we record. Key events include the start of departure and then the aircraft flying through this timing gate. They will be recorded as key events here. Because the four timers are connected to the same timing unit, these lines are aligned. In the case of multiple timing stages, these lines should not be aligned.
The previous graph was a little small, so here I've enlarged it a little bit, and you can see that every time that passes is recorded as an event, here we don't miss any time, here we assume that we might, here we assume that we miss a time, its actual peak value. What do we do here? We click on the marker, and after clicking you see it draws a red line of the tree, and then you move your mouse, you can see that there is some text here
Different changes in this time. It shows the time between your current mouse and the red line. For example, if our next peak is here, you can put the mouse on it and we can see that this time is 16 seconds 60. We know that the actual time is 16 seconds 60. What do we do after that? We move to the top and find the Hyper time 17 seconds 52. Click to edit the time and then find 17 seconds 52 and change it to the actual 16 seconds 60.
After finishing, we click to complete editing. We can see that the new setting of 60 seconds has been improved. When you have finished reviewing all the time, you can click Submit. After submission, we can see the previous competition records we submitted in the competition history. You can click on lap time analysis. With one click, you can see it plot your lap times as a trend.
Here all our pilots are connected to the same timer, so here you see there is only one line, it actually took several lines to be covered, and then the hyper time was adjusted a little, so this hyper here is a bad line. In addition, you can also turn off the driver chart here and click the print function to print the results of the game. The printing function is currently only supported on this external end. In the future, we will look at this function again to see if we can transfer it to this local because network access is required on the external end.
Okay, another function I think everyone is talking about is the RSSI wheel calibration function now in 3.0. You can directly set its peak value and various brightness in this image. Click on this graphic in the timer and you can see that there are three menus. The first one allows you to directly set the peak value. You can set where the peak value is based on this image. When you click this to set the peak value, your peak value will be adjusted. Correspondingly, its entering brightness and leaving brightness will be adjusted accordingly.
All the timers here are connected to the same level chain, and they will all be changed at the same time, but if you are connected to different timing level chains, you will change them one by one. You can also change the brightness of this input, individually, and the same value of the departure can also be changed individually. With this function, you can adjust your RSSI detection and detection algorithm more conveniently. Another function I want to introduce to you is how to manage and group pilots when there are many pilots. In big competitions, this feature will be very useful.
You go to the non-hand tab and you can see that there are some new buttons. The first one is to upload non-hands. Now you can upload non-hands from a CSV file. If you are not particularly familiar with this file format, you can click on this template and then directly choose to upload the CSV template you just edited. He will tell you that 51 non-hands will be added. Then we click OK and now you can see that non-hands have been added to the list of non-hands. Now how do we group the non-hands after there are too many non-hands? Dragging one by one may be troublesome, right?
Here we have added the automatic grouping function. You can tell it how many pilots are divided into each group, and it will randomly group them. If we click on it, you can see that it will add 14 new groups. If you click OK, you can see that these groups have been added. If you don't like the grouping this time, you can also clear them and then regroup them. Correspondingly, you can also clear all pilots. Another relatively large function is the timing service function.
It is recommended to keep the video moving. I won’t go into too much in-depth introduction here. It allows you to import the timing information to the OBS software and then perform live broadcast. We will introduce it in detail in future videos. There are many other exciting features. You can read the change history and join our discord. If you have any questions, I wish you all a happy new year again. Thank you for your support in 2023.
I wish you all the best and everything goes well in 2024. This is QDRK, let’s go to 2024, let’s walk into 2024 hand in hand.