FPVSIM Timer V3 (Mahjong, commonly known as "Mahjong") adds a direct USB connection in addition to the original connection method, which can hand over the power supply and timer network interface to the host. This tutorial organizes the first wiring, mobile device troubleshooting, real track calibration and flight verification, and is suitable for understanding the stable workflow of this generation of hardware.
Prepare hardware and cables to match the platform
Requires a Timer V3 for the platform used, a USB cable that supports data transfer, an FPVSIM Timer App that explicitly supports Timer V3 or Mahjong USB, and a powered quad or VTX for calibration. A charging-only cable may provide power but not provide the USB network interface required by the application.
Windows, macOS, Linux, Android, and iOS support are listed at the time of publication, but specific hardware variants, app button names, and system permissions will change with the version. The current download page and device prompts should be used as the guideline. It should not be inferred from the old pictures that all combinations do not require additional accessories.
Establish timer connection via USB
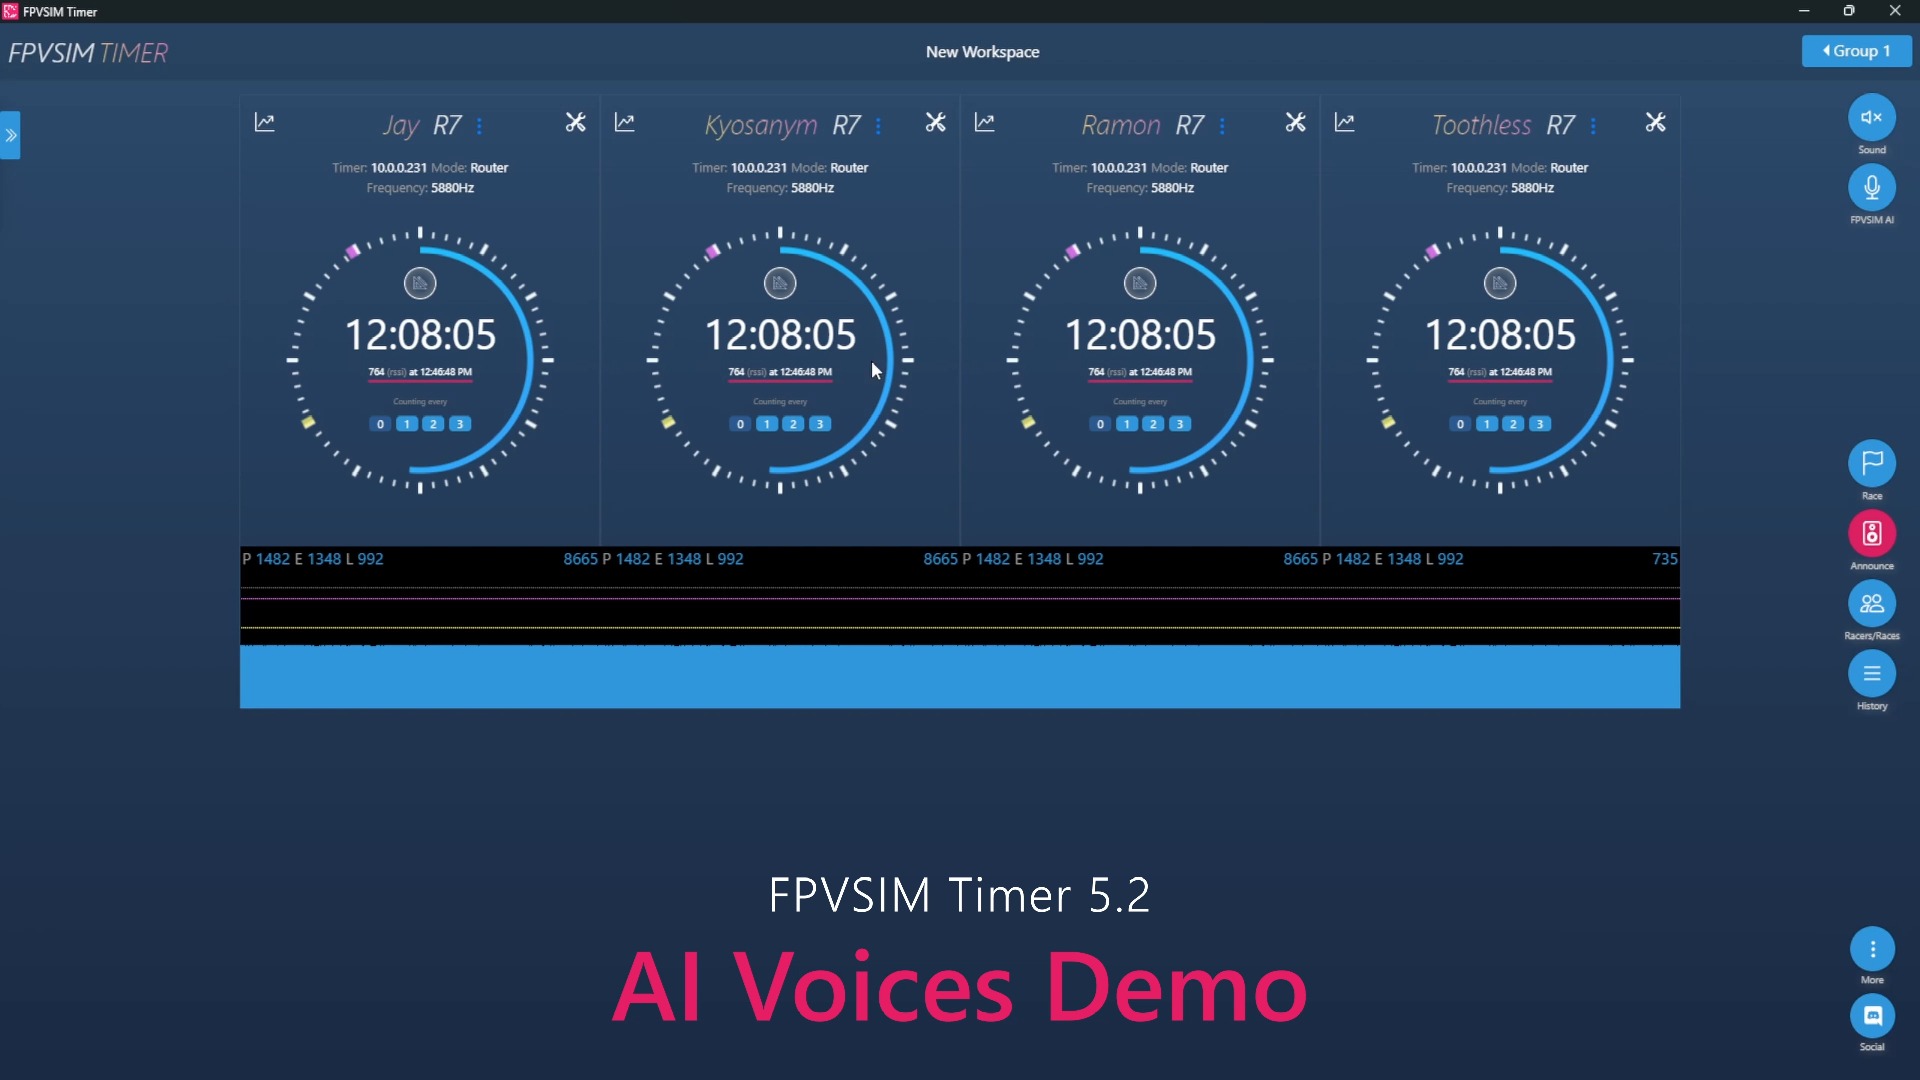
Connect the timer to the host, open the Timer App, and select "Connect timer USB" or the corresponding operation in the current version. After success, the real-time RSSI curve should appear and clearly show that the current connection is USB; if there is only power supply and no data, you should first check whether the cable, port and system recognize the USB network interface of FPVSIM.
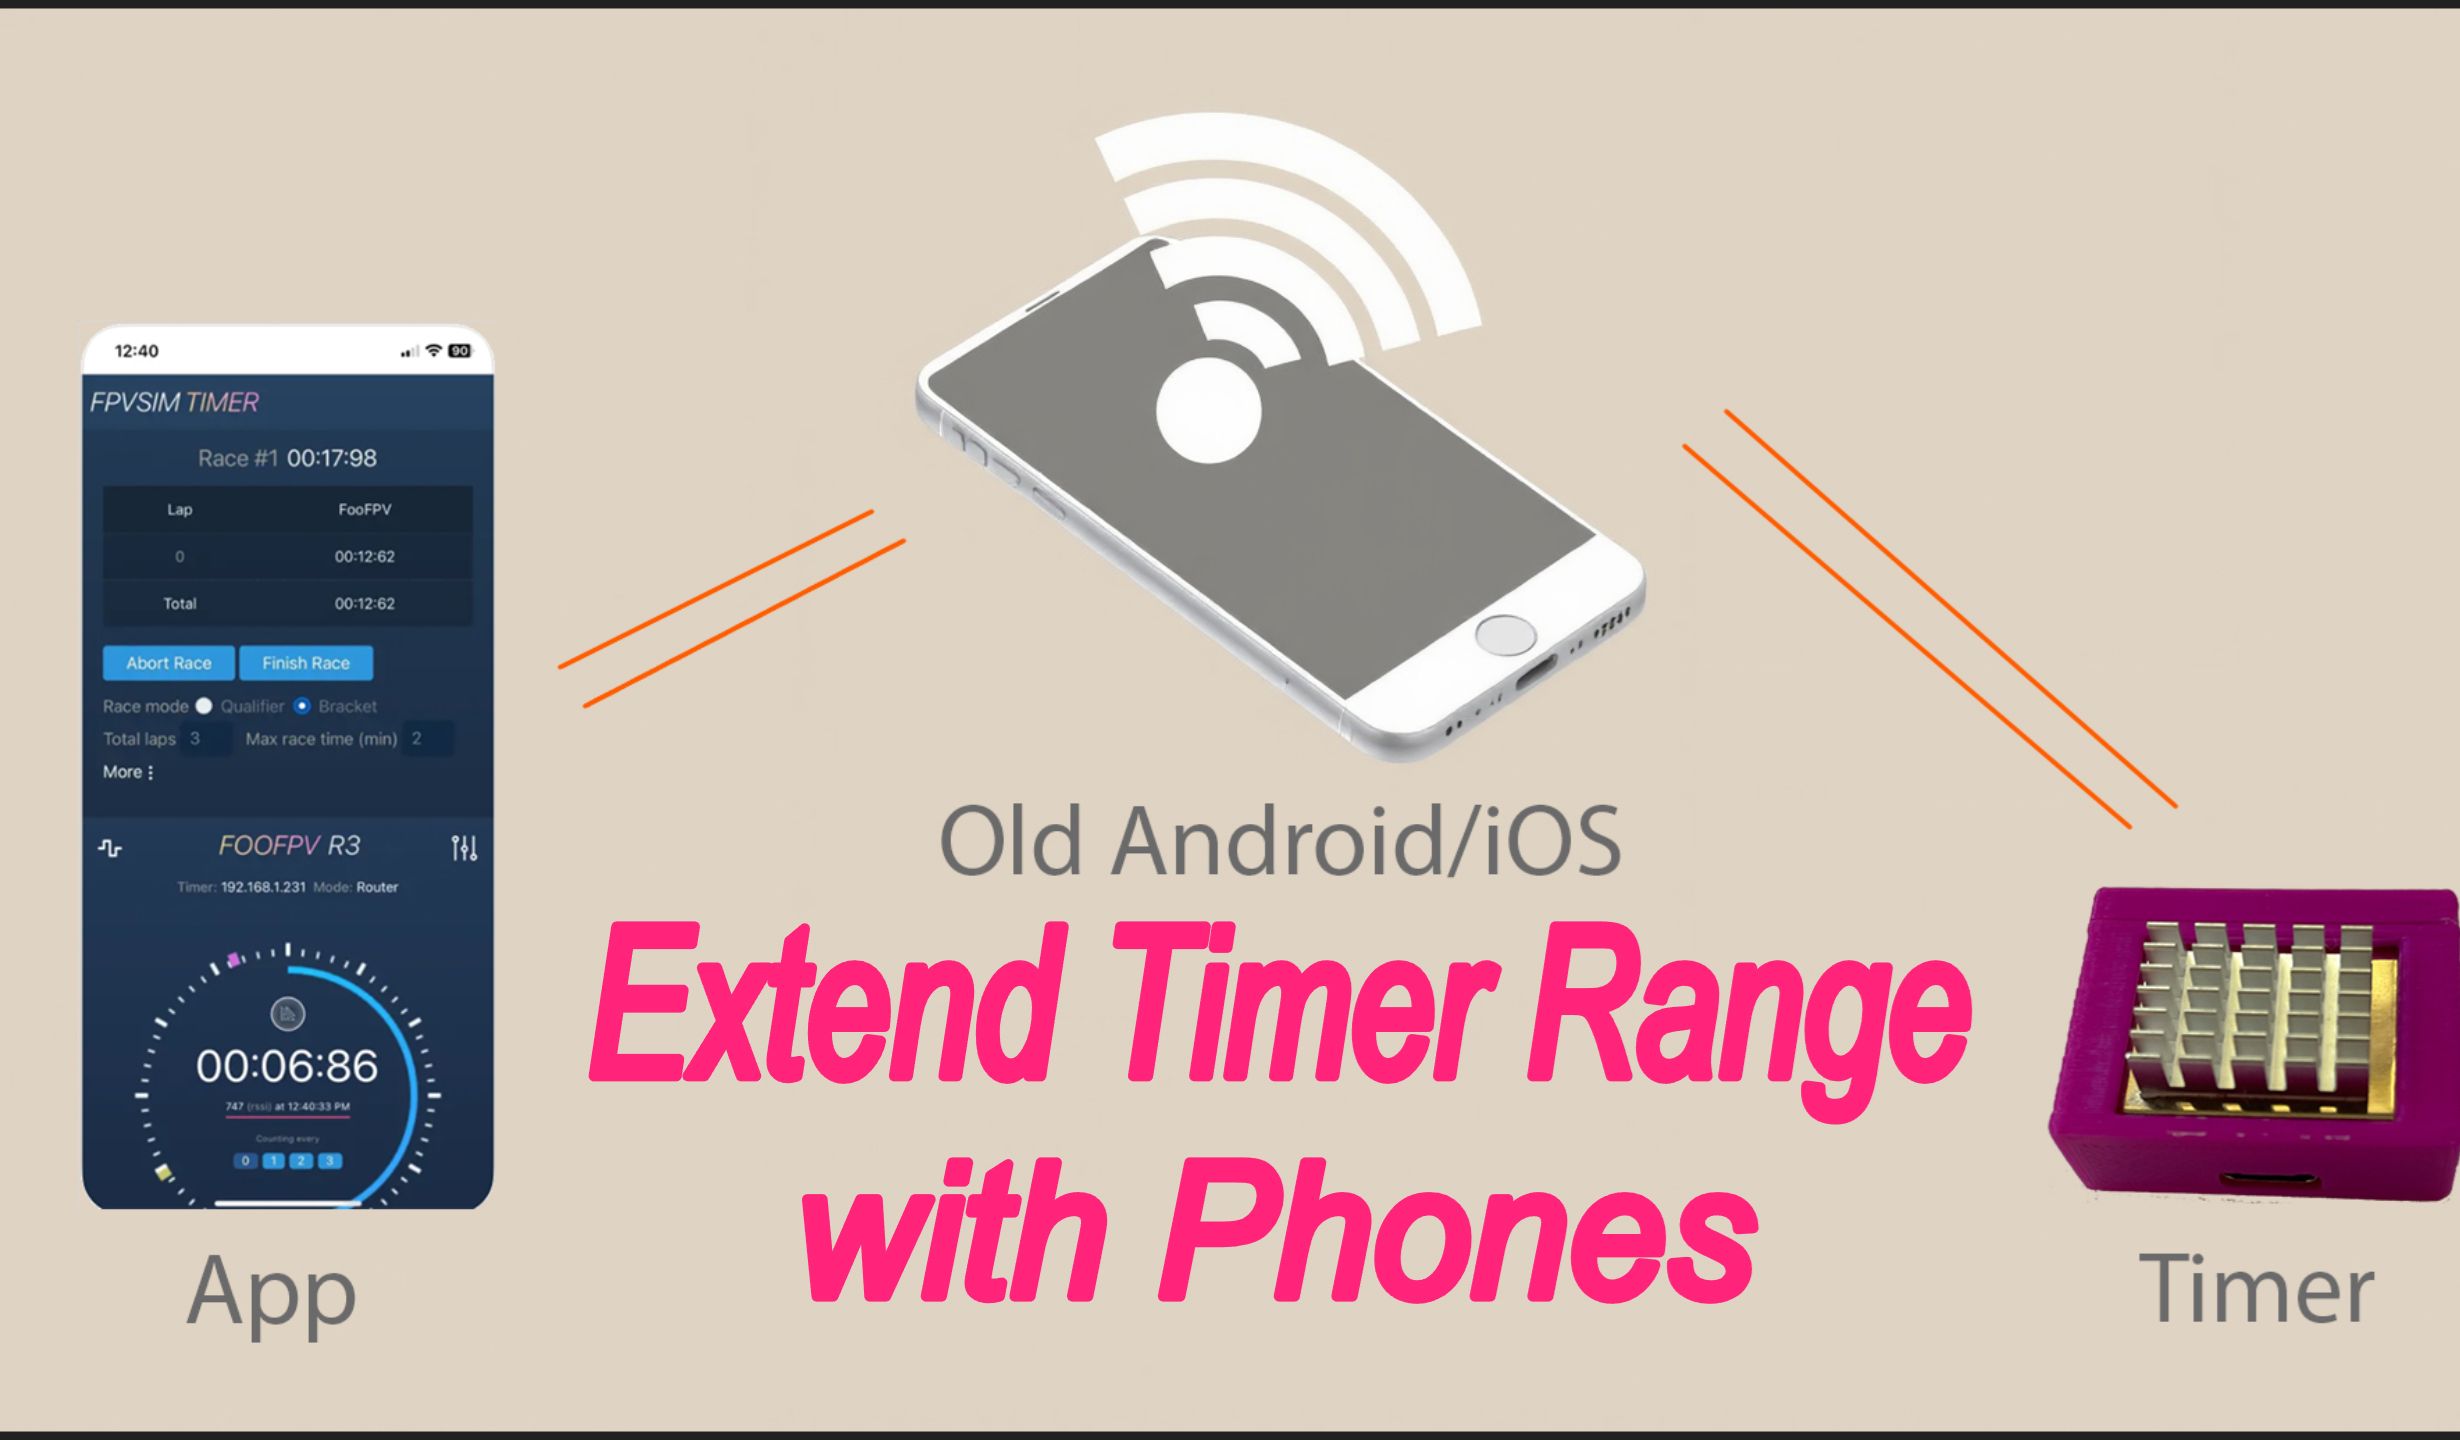
iPhone sometimes needs to temporarily turn off Wi-Fi in video demonstrations before the app will select the USB interface; some Android devices require OTG compatibility or a powered Hub to continue to provide stable power and data. These phenomena are device-specific and should not be taken as fixed procedures for all phones.
First calibration completed on a real track
Set the timer to the final timing point, select the actual VTX channel to start calibration. Cross the timing points three to four times using your normal race route, speed and altitude, and wait for the app prompts before turning off VTX. The example ultimately identifies five valid crossings from which calibration values are calculated.
Calibration completion does not mean the work is over. You should also run a short test race to confirm that each crossing is recorded only once, view the full RSSI curve, and prioritize adjustments to timer positions and flight lines; make minor parameter changes only if there is only evidence that the threshold is inappropriate.
USB reliability over long distances
Video Use an active USB extension cable to place the timer further away from your phone or computer. The longer the cord, the more important voltage drop, signal integrity, and connector quality become; demonstrations of active extension cords do not demonstrate a maximum length that applies to all hosts and cables.
Complete testing of final wiring with continuous power supply, reconnection, calibration and multi-turn inspection before the race. Don’t wait until the game to put together your phone, hub, extension cord, and timer for the first time.
Operation steps
- Connect Timer V3 with data cable
Connect the timer to your phone or computer and confirm that the cable supports both power supply and data.
- Select USB connection in Timer App
Use the Connect timer USB or corresponding button for the current version to confirm that real-time RSSI appears and the mode shows USB.
- Solve the problem of mobile terminal power supply or interface selection
iPhone can try to temporarily turn off Wi-Fi; Android if power supply or data is unstable, check OTG support or use a compatible powered Hub.
- Run calibration on final track
Select the real channel, cross the timing point several times at normal speed, and then turn off VTX after receiving the prompt.
- Run a short race to verify
Confirm that there are no missed laps or repeated lap counting, check the RSSI history and physical placement before considering changing the threshold.
- If extension is required, test the complete cable link
Use reliable active extension cords and verify continuous power, reconnection and multi-lap detection before racing.
FAQ
Why can't the application find the USB timer?
First confirm that the cable can transmit data, the application version clearly supports Timer V3, and the hardware variant is suitable for the current host. Mobile devices may also require turning off Wi-Fi, authorizing USB, or using a compatible OTG/powered hub.
Does USB replace other connection methods?
No. Timer V3 adds direct USB while retaining other connection modes supported by the device; selection should be based on host, cable distance, and RF environment.
How many crossings should be flown for calibration?
The video suggests three to four normal crossings, with successful examples using five recognized crossings. Current application tips should be followed and ensure samples represent actual race routes.
Can very long USB extension cables be used in competitions?
You can try, but there is no universal safe length. Prioritize the use of high-quality active cables, and test voltage drop, disconnection, reconnection and lap counting stability in advance.
Full timeline transcript
Transcripts are arranged according to video time, making it easy to quickly locate the explanation content. Transcript language: English.
Hello, everyone. This is Jay from FPVSIM. I'm very excited to announce the public release of FPVSIM Timer V3, aka Ma Zhang. Does it look like a Ma Zhang? Definitely looks like a Ma Zhang. Cool. For size comparison, this is the four 8-channel race timer. This is how tiny they are. But don't be fooled by the tiny size. They have the four function.
These, right, you can connect it with Ethernet cable, with wire connection, or using the wireless connection for simple RF environment, which is almost, you know, zero to none, unless you are flying along in a really clean environment. This allows you to connect to all mainline devices, you know, Android, iOS, Mac, Windows, Linux, through USB cable. How do you set it up? It's super simple, just like the multi-version.
Just find a USB cable, and then plug it in. The host will provide power, and the timer will also start a network interface. And then on the host, open FPVSIM timer app. Here I'm just using Windows as an example. For other systems, it's basically the same. Click on. This is the latest version. You can see the instructions is now in the pop-up to save space for these connection options. Just click on this Connect Timer USB.
It'll basically be connected. You can see the live RSSI trend, etc. And then the mode here will be shown as USB. Simple as that. On Windows, right? If you want to check, you can actually go to network connections. You can see one of the connections exposed by FPVSIM. This is the FPVSIM lab USB net. Mac is similar, but you don't have to check this unless you are debugging some connection issues.
One word about USB cables.
For iPhone, I can just connect it with the normal USB-C cable in the middle, nothing fancy. Sometimes I have to turn off the Wi-Fi for it to connect to find the right interface to connect. So if yours cannot connect, try to turn off your Wi-Fi. Now it's connected. For Android, I have to use something like this, a USB hub.
That somehow turned Android to always output a stable power for the timer. So if you have power supply issues, try to see if you need a USB hub or not. Like for example here. Now this is connecting to Android. You can turn off the Wi-Fi to the timer hotspot. You can see it's connected to the Android.
If you want longer range, which is, I guess, always, you can find one of these, which is, you know, USB extension cables online. I got this one from Timo. It's around 8 bucks. This is around 35 feet.
I haven't tried longer cables because this one is so cheap. I actually don't trust this can go longer. If you want a longer range, definitely get a high quality extension cables because the voltage drop over longer extension cable is no joke. You want the least amount of voltage drop as possible. Cool, that's about the setup. Now let's take it for a spin. I'm going to walk you through first time calibration and do some test rounds.
OK, this is the FPVSIM Timer V3, super tiny in a huge box. This box is already what I use to host the multi-version, the bulky one, when running with its pilots locally. So connected with this extension cable. This cable is only like $7, $8, USB 2.0, active extension cable.
These have some kind of signal boosting there to make USB signal like propagate faster, but it's super cheap. Like this is 10 meter only costs 7, 8 bucks. I bought it to indoor and here connect to my phone here. Welcome to FPVSIM timer. Alright, we just connect to the timer. I've been testing this timer. So this timer is right now calibrated, but just for demo purpose. I'm gonna mess up the detection method and make it non calibrated.
And let's actually run the calibration process together. Just click on this button. We'll start calibration. Calibration started. Please fly through the track as you would normally do for a path. Passing the timing date three to four times. Calibration will finish once you power off your VTX. Yes, just fly through it. Calibration failed. Please fly another path to continue calibration. Here's where this timer is.
OK, we fly through it multiple times, calibration should just be successful. Yep, now the timer is calibrated, you can start flying it.
10 seconds 7, 10 seconds 6, 10 seconds 4. Cool, as you can see, I'm definitely a little bit rusty in terms of flying, but I hope you enjoy all the great improvements brought by my drone. I don't have too many by hand, so if you want one, definitely be quick. Thank you for your support and happy flying and keep innovating. See you soon.