This tutorial starts with the Timer V2 Solo's case assembly and 5V USB-C power supply, demonstrates how to add an iPhone/iPad to a timer hotspot, and explains how the RSSI peak, entry threshold, and exit threshold jointly determine a crossing. The interface belongs to an earlier generation, but these signal judgment principles are still suitable for troubleshooting missed laps and repeated lap counting.
Assembly and the first network connection
When fitting the case, align the circuit board, USB-C opening, and case slots first so closing the case does not put pressure on the connector. Fit the heatsink as recommended for that hardware. If using adhesive, do not cover connectors or components that need to dissipate heat. Use a stable 5V USB-C power supply.
After powering on the timer, join the hotspot whose name begins with FPVSIM Timer in the iOS Wi-Fi settings, then return to the Timer App and select the timer-hotspot connection. The default network behavior shown belongs to the version used for the recording. If the current firmware requires a password or uses a different entry point, follow the current prompts.
First confirm the channel and live RSSI
Select the same channel as the quadcopter VTX in the app. Move the aircraft toward and away from the timing point, checking for a clear rise and fall in the RSSI plot. Place the timing point on a straight section with steady speed and a repeatable line, avoiding a placement where another part of the course produces a stronger signal.
If the app connects to the hotspot but RSSI does not change plausibly, first check the channel, whether the VTX is operating, and the timer position. Do not immediately make large threshold changes. Network connectivity and RF detection are separate layers of the problem.
Understanding a valid pass
During a valid pass, the signal first rises above the entry threshold, peaks at the closest point to the timer, then falls below the exit threshold. The timer uses the instant of strongest signal as the pass time. A peak requirement set too high can cause missed laps, while overly permissive thresholds can mistake nearby flying or noise for a new pass.
Start adjustments with physical placement and the flight line, then make small refinements based on the full RSSI history. A minimum lap time can suppress physically impossible rapid duplicate results, but should not hide unsuitable thresholds or timer placement.
Validate with real laps, not just a short live window
Fly several normal laps, then open race history after the run and compare the full RSSI record against each lap count. A short live window can miss the surrounding context. The historical plot better reveals which peak was accepted and which nearby signal nearly crossed a threshold.
Later versions may offer automatic calibration. Start with the automatic procedure in the current app, then review its results using the RSSI principles in this tutorial. Revalidate after moving the timer or changing the channel, VTX power, or course.
Operation steps
- Align and fit Timer Solo into its case
Ensure the circuit board, USB-C opening, and case slots are free from strain, and install the heatsink as required for the hardware.
- Power it with a stable 5V supply
Connect a suitable USB-C power supply and wait for the timer hotspot to start.
- Join the timer hotspot on iOS
Select the network with the FPVSIM Timer prefix in Wi-Fi settings, then return to the Timer App to establish the hotspot connection.
- Select the VTX channel and observe RSSI
Use the actual quadcopter to confirm that the signal rises as it approaches the timing point and falls as it leaves.
- Understand and calibrate the peak and thresholds
Make a normal pass rise above the entry threshold, form a peak, and fall below the exit threshold, then make small adjustments based on the history.
- Fly real laps and check the history
Complete several test laps and check for missed or duplicate counts. If needed, improve placement and the flight line first.
FAQ
Why does iOS say the timer network has no internet?
The timer hotspot is a local connection and may not provide internet access. Whether cellular data remains usable depends on the iOS and app versions. If you need internet at the same time, consider a supported router mode.
What can cause missed laps?
Common causes include a peak requirement above the signal produced by a real pass, the wrong channel, poor timer placement, or a flight line that does not produce a clear RSSI rise and fall.
What can cause duplicate lap counts?
Nearby flying, noise, or overly permissive thresholds may create a second apparently valid event. Improve placement first, then make small threshold adjustments. Use minimum lap time only to filter physically impossible duplicates.
Is manual calibration still required?
Not necessarily. Newer releases may include automatic calibration. Start with the procedure supported by the current version, then use RSSI history to verify and fine-tune the results.
Why must I check race history?
The history covers the entire test, placing each peak, threshold crossing, and lap-count result on the same timeline. It is better for diagnosis than a short live window.
Full timeline transcript
Transcripts are arranged according to video time, making it easy to quickly locate the explanation content. Transcript language: English.
Hello everyone, this is Jay from FPVSIM. Today we're going to take a look at how to assemble an FPVSIM timer and do the first time setup. Here's what you're going to need. A heat sink, the FPVSIM timer V2. Just really printed the housing. Super simple. Just take the housing. You see there's a hole for USB-C. Just align them and there are some slots. Just align the slots, put them in there and then push it in.
[Speech cannot be reliably recognized here]
[Speech cannot be reliably recognized here]
[Speech cannot be reliably recognized here]
And then once your iPhone don't connect yet, try to connect the hotspot of the timer first. So for me, see in my settings, go to Wi-Fi. If you find something that starts with FPVSIM dash, that's the timer hotspot. Just connect to it. By default, it doesn't have password, but you can set one after connecting to it. And then come back to our timer app. Now click the connect timer hotspot.
You can see it's connected to the timer. From here, you can play with the timer app. For example, you can see the RSSI trend. You can change the settings of the timer.
Switch to R3. 5,732 Hz.
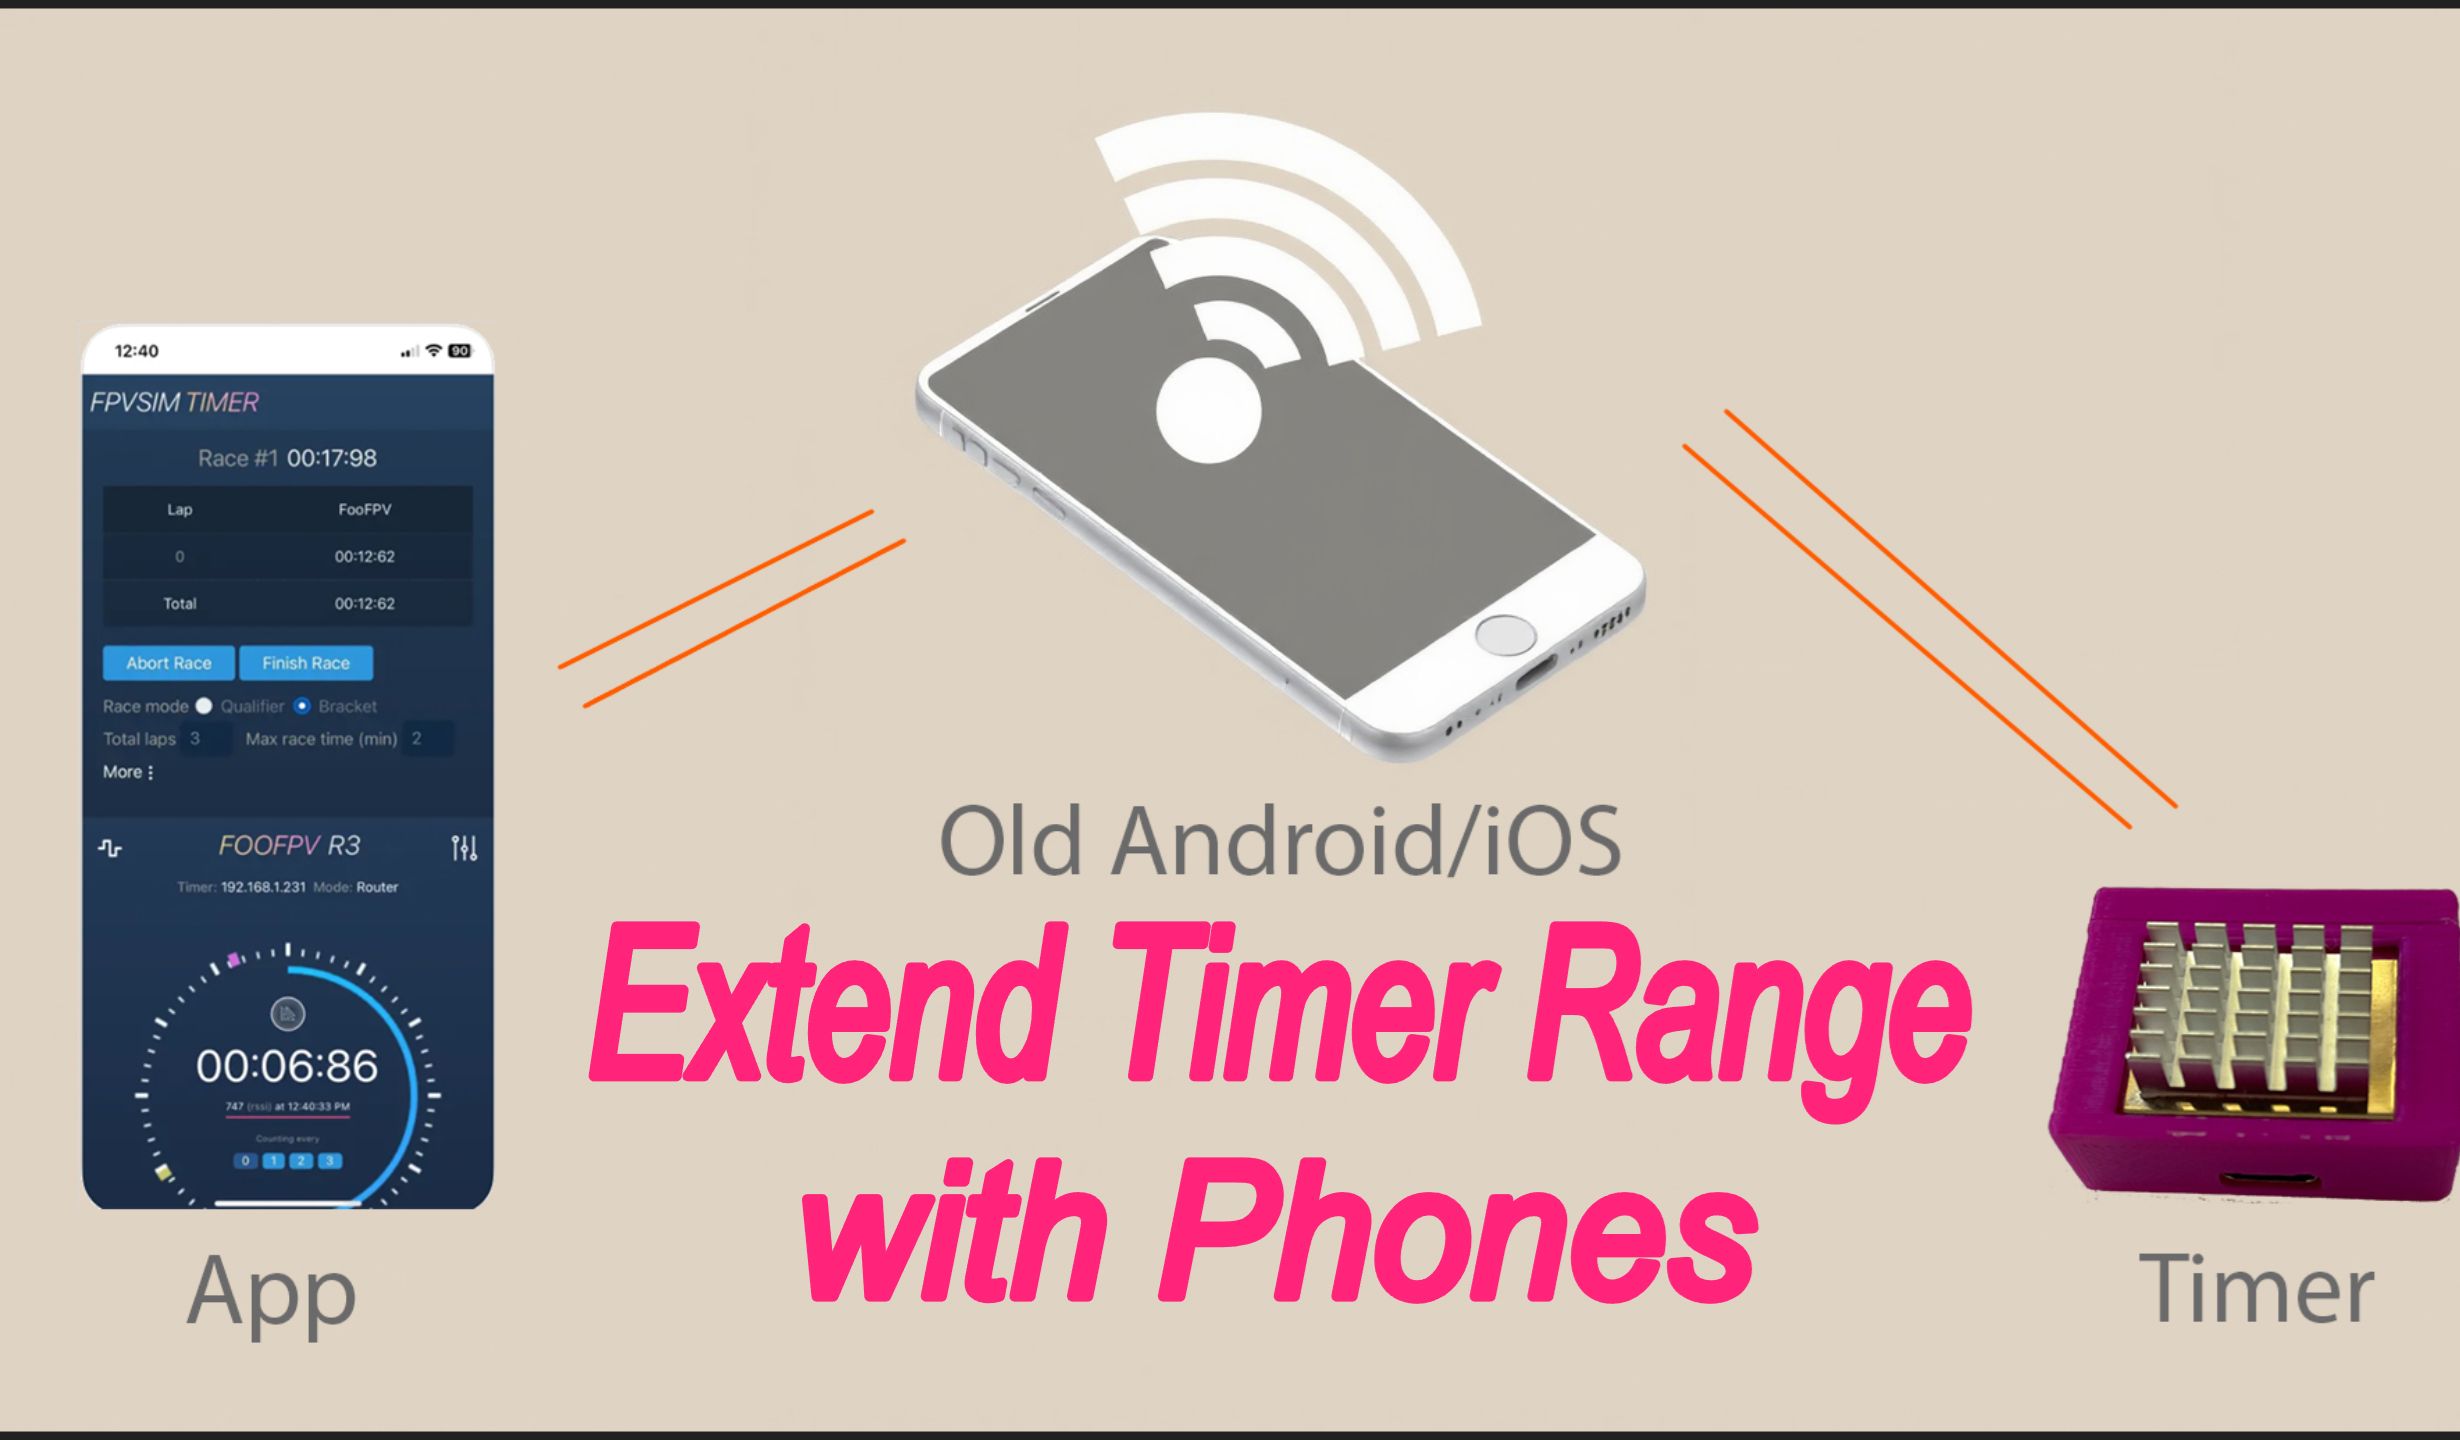
You can also use a router in the middle as a bridge to connect to the timer app, which gives you longer range.
And also, you know, you can put it as a bridge in the middle, give you longer range. And you can update the AP settings, which is the hotspot settings, and set a password if you like. And there are other features as well, feel free to explore and manage the research, do workspace and settings updates. So you can save all of your settings into a workspace. Right now, I'm not connected to internet, so this doesn't load. But once you're connected to internet, this will load.
Sometimes iOS will tell you, once you connect to a hotspot, it doesn't have internet, right? It will tell you whether to switch to mobile data, but somehow this time it didn't show up. If it shows you to connect to the mobile data, you should be able to load all the settings from the server, the workspace settings from the server. It might be an iOS bug that it didn't show up this time.
And you can manage your timers. If you have purchased a dual or event license, you can set up multiple timers. Some instructions for more updates, or you can see your account information. This also requires loading from the server, which mobile data is not enabled yet.
So here's another benefit of connecting to a router, if the router has access to the internet, then you will also have access to the internet, as well as the timer. Now, of course, you can reset your whole workspace if something doesn't work. OK, let's talk about quad detection, because that's the most important part of detecting a drone passing. So just briefly, how does it detect quad passing the timer?
It uses the VTX RSSI, so the VTX signal strength, as the signal for detection. When the drone is flying by, the VTX signal will become stronger and stronger and stronger, and when it goes away, it will become weaker and weaker and weaker. So it basically detects that peak of the RSSI signal.
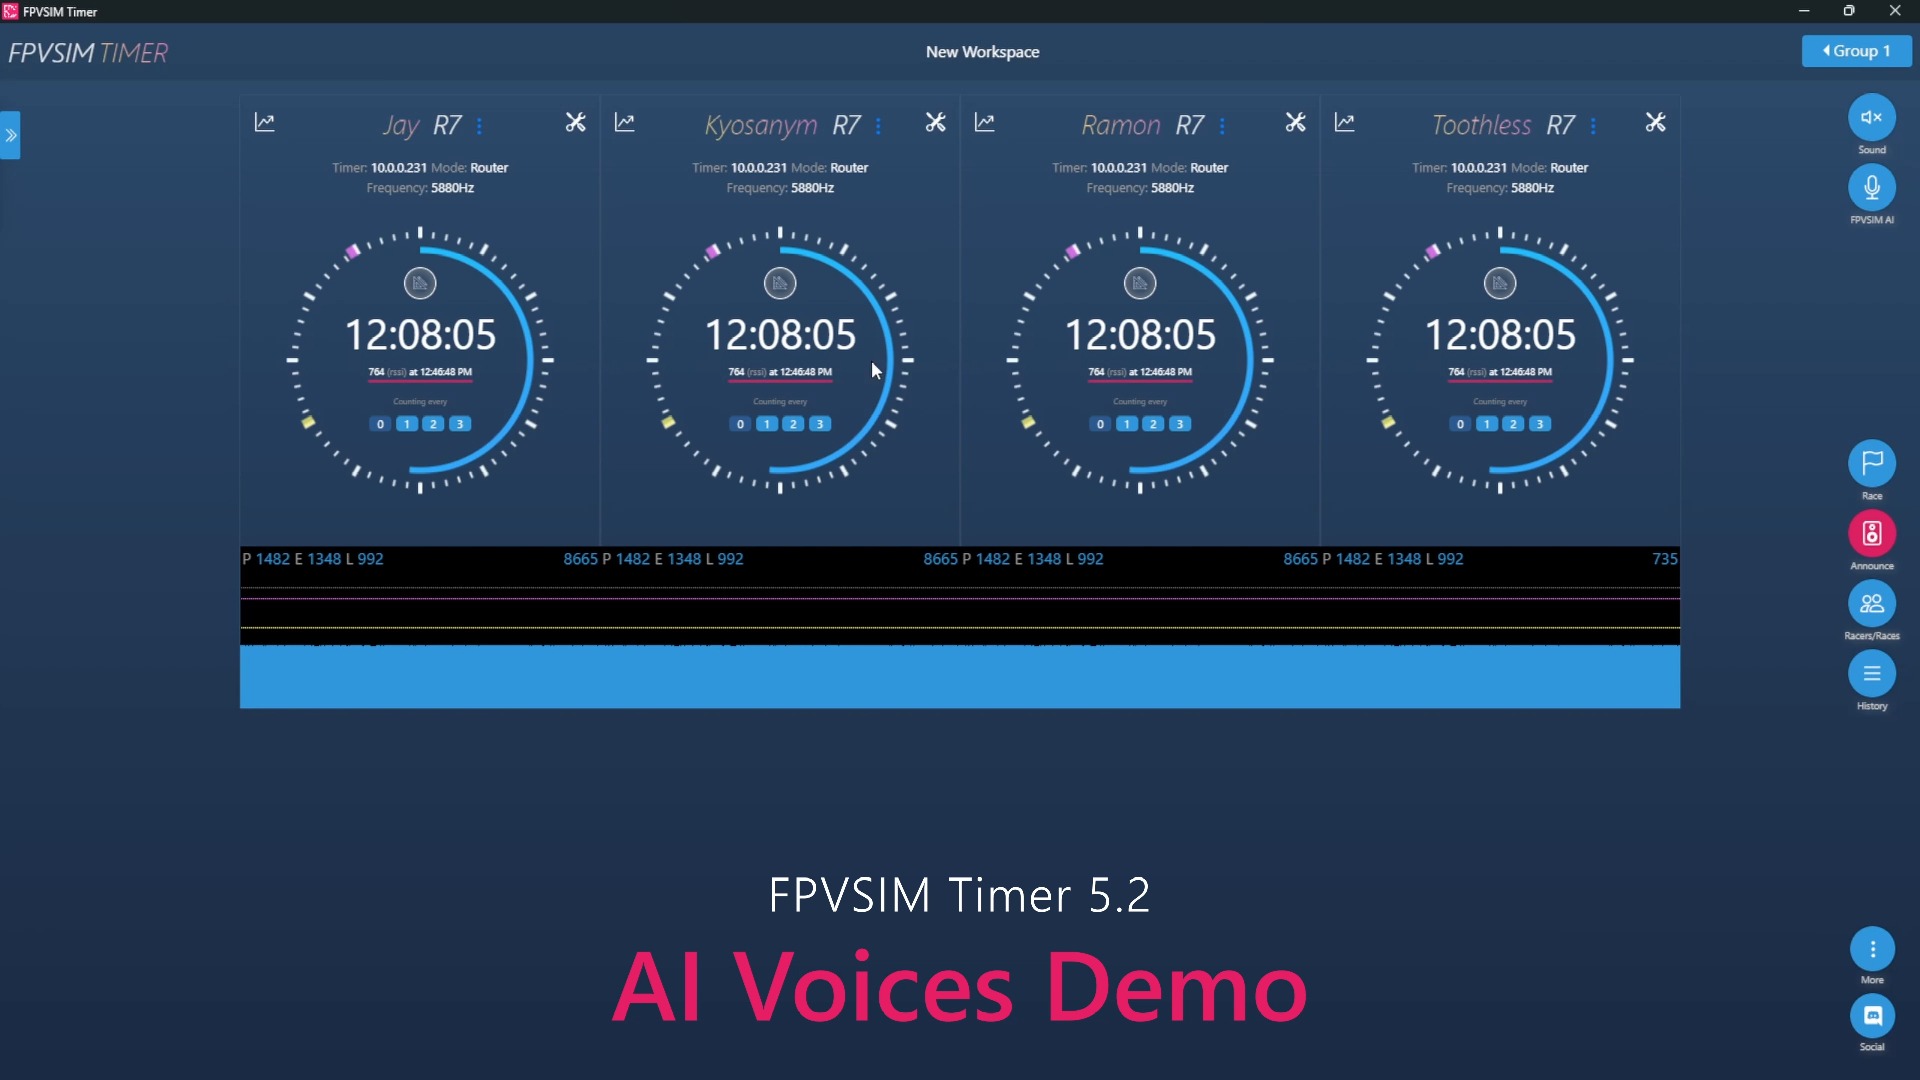
There are three values that you need to be aware of. Actually, the most important one is the RSSI peak, basically where the maximum RSSI is. So now I have a drone on my side. I'll just power it off. You can see the RSSI value jumps, right? And if I power it off, the value will drop. So basically make sure that the peak value, basically the white line here, is aligned with the peak of the RSSI.
Make sure that value matches. Besides the white line, you can also see the purple line and the yellow line. These two lines help detecting a pass. Basically, the RSSI value has to jump above the purple line and then drop below the yellow line to become the other drone passing. Then it will use the time where the RSSI is the strongest during that passing event.
As the proxy of drone passing the timer here. So do note that it is just a proxy. So if your drone's VTX signal varies a lot, like a faulty VTX, your passing time might not be that accurate. But nowadays I think with SG0, this time is actually pretty accurate. Also to help with decreasing that variance, try to put a timing gate
On a straight, fast straight line to make that peak clearer and then your timing is also going to be more accurate. For smaller tracks you might need to update the inter-sensitivity and leave sensitivity, basically adjusting the position of these two lines to avoid double counting on missed counting. Usually missed counting comes from RSSI peak set to too high so that when it's passing the signal didn't go above the purple line.
In that case, try to lower the RSSI peak as much as possible until you start to get double counting issues. In case you do get double counting, you can use the main lap time settings here. For example, a minimum lap time, you think it has to be bigger than 12 seconds, right? If two pass is within 12 seconds, it will not be counted as a pass. Cool, hopefully that helps clarify things on calibration.
Now, this timer is calibrated. You can just put it in your Yara anal track and then start to practice. To start a session, click Race and then click on Start Race. OK, now it actually reads IMCK. You'll start to get lap times. So the first pass is a whole shot if you're in brackets. Second one, this is the actual one lap.
For example, if I pass within 12 seconds rate, this time it's not counted as a passing because it's within 12 seconds. Remember our mean lap time is set to 12. If it's beyond 12, then we're actively counted as a pass. So use the mean lap time in extreme cases to avoid double counting.
After the race is finished, you can see some folks are saying that the RSSI trend goes away too fast. In that case, just use the view race history, then you can see the whole RSSI history of your session. And you can use this to help you calibrate the street lines here. It's going to be easier on desktops, but phone also works. You can tap on the
Type on the trend to see what the actual RSSI value is from here and use that to adjust your sensitivities. Awesome, submit the race. Once it's submitted, you can see your race stats here. You can draw a graph with your trend here. Looks like we're not doing very well. Our lap time just keeps going up. Just kidding. Awesome, hope that helps clarify things. Thank you so much. I'll see you next time.