Joshua Bardwell's complete demonstration takes the FPVSIM Timer from hardware selection, phone connection, and channel-by-channel calibration, all the way to player grouping, qualifying/elimination mode, and DIY flashing. The really key practice loop is to put the timer at a fixed start and end point, use each pilot's actual image transmission signal to calibrate the threshold, and then use the lap time trend to improve stability. The price, application, IP, subscription and hardware supply in the video are all information at the time of recording.
Lap times turn practice from a feeling into verifiable data
A timer does more than announce the fastest lap: it shows whether a pilot can repeat laps consistently. The video opens with context about alternatives such as LapRF that were difficult to obtain at the time, explaining why individual practice also needs a reliable start/finish point. Only with each lap time can you tell whether a changed line actually helps or merely produced one lucky fast lap.
During practice, record the fastest lap, consecutive-lap results, and the proportion of laps with mistakes. Aim first to complete clean consecutive laps on the same course, then gradually narrow the spread of times. Keeping only the best number overlooks the consistency that matters more in a race. Product availability and comparisons all reflect the market at recording, not necessarily the models or prices available today.
Choosing between prebuilt hardware and DIY
FPVSIM Timer offered both a low-cost DIY path and prebuilt hardware at the time. Prebuilt hardware suits users who want to spend less time soldering, flashing, and troubleshooting. DIY suits those able to check circuits, identify development-board variants, and take responsibility for assembly and validation. Compare your time, tools, repair skills, and event-reliability needs rather than relying on the video’s historical prices.
The DIY section uses components including ESP32 / NodeMCU, an RX5808 receiver module, and resistors, and mentions connecting RSSI to GPIO34. Pin labels on development boards and RX5808 modules can differ by batch, manufacturer, and version. Do not treat a transcript phrase or old footage as a universal wiring diagram. Use the current official hardware list, wiring documentation, and firmware target, and check every board marking.
After connecting the phone, calibrate each video channel first
The demonstration powers the timer, connects the phone to the device’s FPVSIM Wi-Fi hotspot, then opens the Timer interface. The video showed the default address at the time, but addresses and access methods may have changed. This article does not repeat the old IP; use the access method in the current official documentation. A successful connection only establishes that management access works, not that lap detection is reliable.
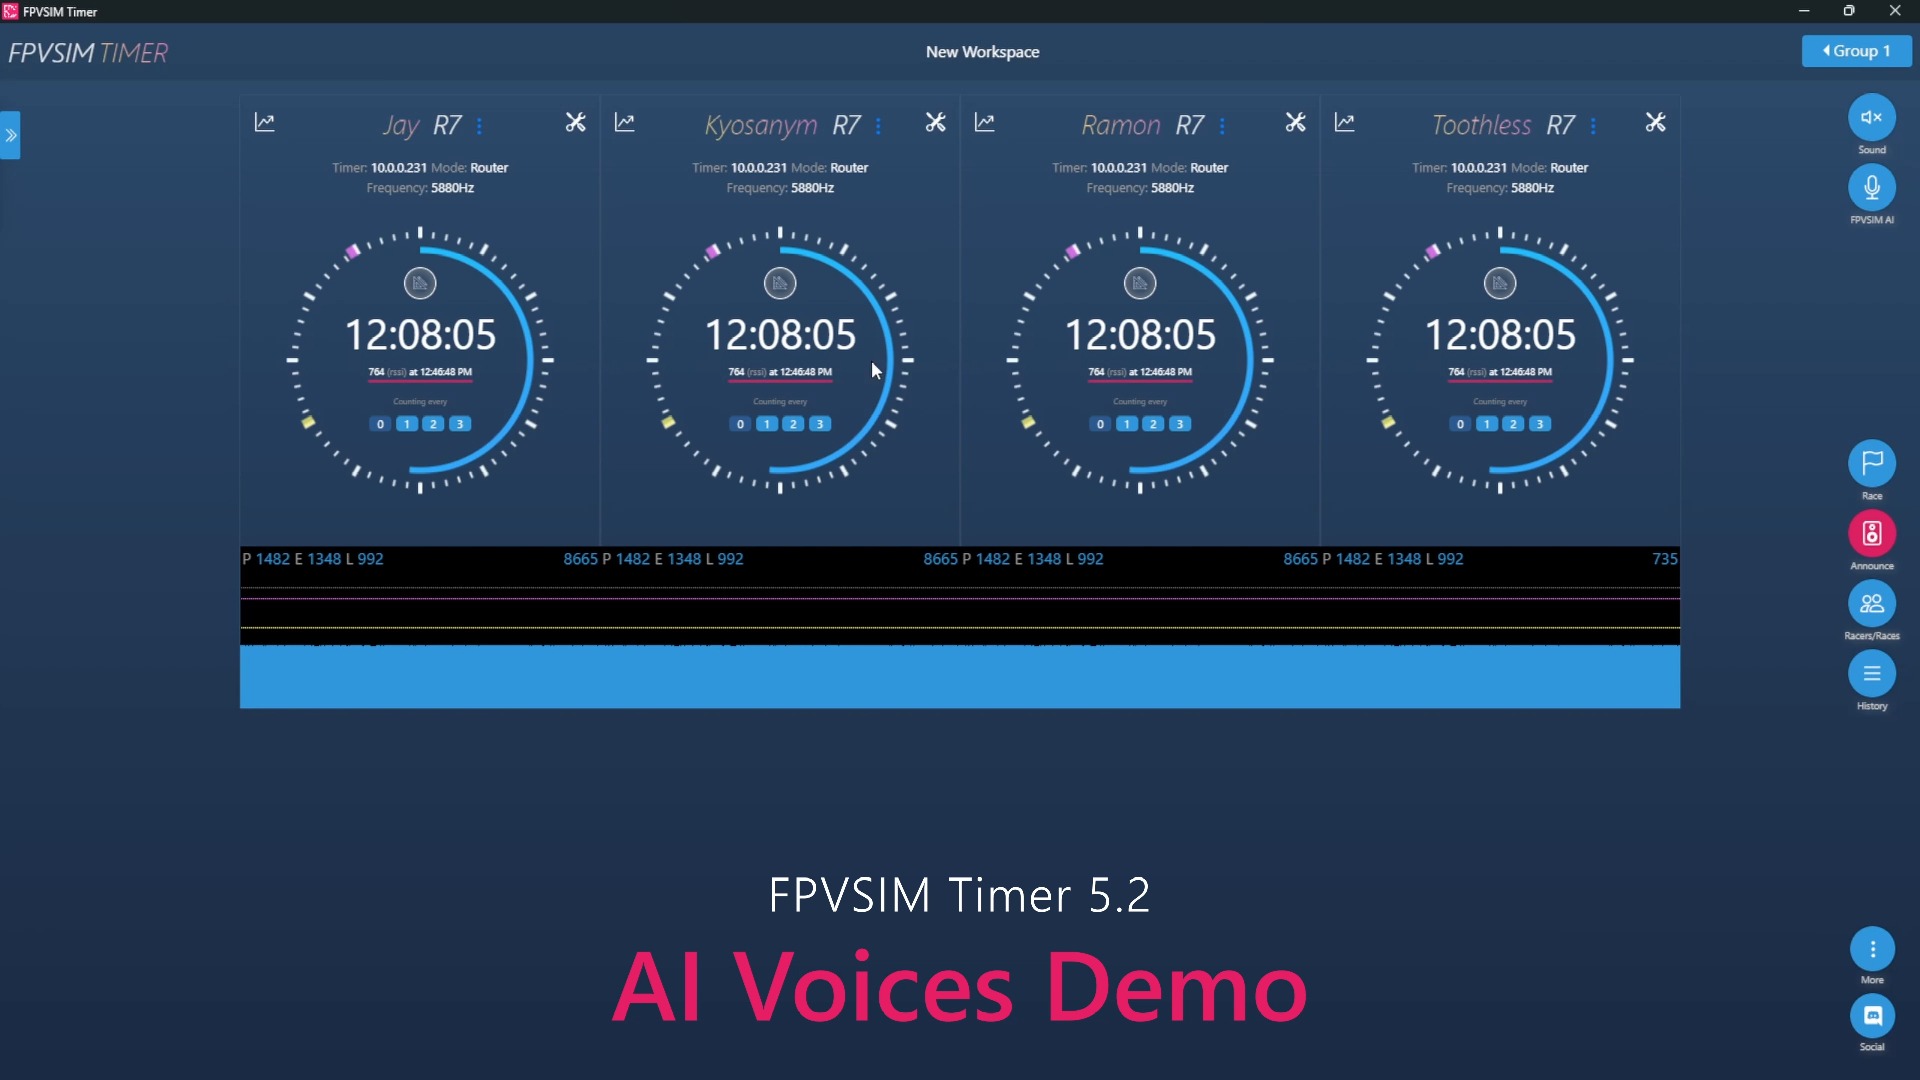
Place the timer at a clearly defined start/finish point and calibrate it for each pilot’s actual video channel. The video recommends flying through the gate two or three times, watching the signal plot, and then adjusting the threshold. Different VTX power levels, channels, antennas, and aircraft installations produce different RSSI, so a threshold for one channel cannot simply be assumed suitable for all pilots.
Use signal plots to troubleshoot missed and duplicate laps
If the RSSI peak of a real gate pass does not cross the threshold, a lap may be missed. If flying outside or near the gate also frequently crosses the threshold, duplicate laps may be counted. Place the threshold between these two kinds of signal and verify it repeatedly using the actual racing line. Metal at the venue, other video transmitters, and flight height can change the signal. Moving close to the antenna once on a desk is not sufficient calibration.
A minimum lap time can filter impossible rapid repeat triggers, but cannot fix poor antenna placement or thresholds. It should be shorter than a plausible fastest lap yet longer than the gap between duplicate events from one gate pass, and should be reassessed after course changes. If laps are missed or counted twice, inspect the signal plot and physical setup before changing filtering parameters.
From pilot groups to race modes
After calibration, create Racers and Groups, choose voice announcements, and run a race. The qualification mode introduced in the video evaluates the best consecutive laps, making it suitable for comparing consistent speed. Elimination / bracket and total-lap modes more closely follow multi-pilot competition workflows. Confirm mode names and scoring rules against the current version and organizer’s rules; do not determine official results from an old video alone.
Once a race starts, the timer records passes. At the end, complete Finish and Submit. Historical statistics and trends generally use races that were actually run and submitted. Pilots can use trends to see whether they improve over successive rounds. Event staff should check abnormal laps, connections, and pilot assignments before submitting, and keep the original records.
DIY flashing and historical licensing conditions
The latter DIY section demonstrates writing firmware to a development board using a bootloader and configuration tools. Before starting, verify that the specific board, USB driver, boot mode, and firmware target match, and maintain stable power. On first power-up, check for shorts, abnormal heating, and serial-port recognition before connecting the RX5808. If official documentation differs from the old video, follow the current hardware and firmware instructions.
The end of the video discusses the differences in pricing and licensing for prebuilt hardware, DIY, the app, and subscriptions at that time. These are historical details from the recording date. Do not infer current charges, included features, or the cheapest option from them. Before purchasing, check the current fpvsim.com/timer page, compatible-hardware list, firmware downloads, and license terms.
Operation steps
- Choose prebuilt or DIY using current information
Assess your soldering, flashing, and troubleshooting skills, then verify hardware and licensing on the current official page. The video begins comparing the two historical options at about 01:16.
- Power the timer and connect to the FPVSIM hotspot
Supply stable power to the timer, connect the phone to its FPVSIM Wi-Fi hotspot, and open Timer as described in the current documentation. Do not use the old default IP from the video.
- Calibrate each channel at the start/finish point
Fix the timer at the intended crossing point. Fly through the gate two or three times with each VTX / channel, observe the RSSI peaks, and establish a threshold margin.
- Verify missed laps, duplicate laps, and minimum lap time
Test normal gate passes, flying beside the gate, and the fastest plausible lap separately. Adjust thresholds from the plots. Minimum lap time should filter only impossible duplicate triggers and cannot replace proper placement.
- Set up pilots, groups, and race mode
Enter Racers / Groups and choose consecutive-lap qualification, brackets, total laps, or another mode for your training or event goal. Verify the current rules.
- Run, finish, and submit the race
Monitor passes after starting the race. At the end, check abnormal records before Finish / Submit. Only data from races actually run and saved is suitable for historical trend comparisons.
- DIY users should follow current wiring and firmware documentation
Check the actual ESP32 / NodeMCU and RX5808 markings, official wiring, boot mode, and firmware target. The old video mentions GPIO34 / RSSI, but board variants may differ.
FAQ
Can I race immediately after my phone connects to the timer hotspot?
Not yet. Position the timer at the real start/finish point, fly through the gate two or three times on each video channel, and check the RSSI plot and thresholds to reduce missed and duplicate lap risks.
Can I use the default IP address shown in the video?
It is not recommended. Addresses and access methods can change between versions, and this article deliberately does not repeat the old IP. Use the access point given in current fpvsim.com/timer documentation.
Must RSSI always connect to GPIO34 in a DIY build?
That is true of the board used in the video, but development-board and module variants can change pin assignments. Follow the current official wiring diagram and the markings on your own board. Do not treat the old video as a universal circuit diagram.
Are the hardware prices and subscriptions in the video still valid?
Do not assume they are. Pricing, apps, availability, and licensing reflect the recording period. Recheck current costs and features on the official page and store.
Full timeline transcript
Transcripts are arranged according to video time, making it easy to quickly locate the explanation content. Transcript language: English.
This is the single most effective tool to make you a faster racer. And today, I'm gonna tell you what it is. I'm gonna tell you how to get one. I'm Joshua Bardwell. You're gonna learn something today.
In order to understand why this is such a big deal, I want to go back in time a little bit and remind you, or for some of you guys, introduce you to this. This is the LapRF FPV race timer. It is made by ImmersionRC, or maybe I should more rightly say it was made by ImmersionRC, because although ImmersionRC still technically hasn't discontinued it, they also haven't made one in years. At least you haven't been able to get one in years.
I was able to get this one several years ago, but I had to buy it off of eBay, and it was like $90. And that's a real shame, because if you are racing, then your goal is to go faster around the track. And if you don't know how fast you're going around the track, you can't know if you're actually getting faster, getting better, or if you're just
By now you've probably figured out that this is an FPV lap timer. It is the FPVSIM lap timer v2 and what makes it so special is, well, number one, it's functional as a lap timer.
First Bar Met. Number two, it is really inexpensive. This little device here costs about $15 for three of them. This little device here costs about $10 for one of them. All told you can build one of these for less than about 20, maybe at most $25, depending on how much you pay to get these things. And that's a pretty good freaking deal, considering that the next best thing, which you can't even get anymore, costs like four or five times that much. And if you're thinking, well, that looks like a pain in the butt.
You can get one of them pre-made, ready to go, looking like an actual product a little later in the video.
Let's power up this little device using a USB power bank. And for the convenience of working here on the bench, I'm going to be using the Android app. There are applications for Android, iOS, Windows, Mac OS, and Linux. So you could use pretty much whatever device you want to do your timing. The first thing I need to do is connect to the timer. And I'm going to do that by going into my phone's Wi-Fi settings. And the timer is broadcasting a Wi-Fi hotspot. You can see it right here, FPVSIM-E.
If you've got more than one timer powered up at a time, for example, because you've got more than one racer running at a time, each of the timers will show up with a different hotspot name, FPVSIM, ABCDE, etc. Now that I'm connected, I can connect to the default IP address of the timer, which is filled in here. And if I just hit reconnect, here I am. You'll notice that it's remembering some information from the last time I was using it. Don't worry about that right now.
The next thing we would do is we would take the timer and we would put it over by the start-finish gate of the race. Again, for the sake of this demonstration, I'm just going to keep it here on the desk. Next, I'm going to press this button to calibrate the timer. So the timer tells when you have passed the start-finish gate
Based on the signal strength of your video transmitter, and every video transmitter has a little bit different signal strength. Sometimes the sensor may be a little bit further from the start-finish gate. Sometimes its orientation may be a little bit off. There are just a lot of things that affect the signal strength that it sees when you fly through the start-finish gate. So we want to calibrate it basically every time we use it.
It's very easy. We're going to power up the video transmitter here. And I'm going to calibrate by going into the menu. We need to set the channel. So I'm using channel race 8 for my quadcopter. And if I look down here, we can see a signal strength graph. As I move further away, the signal strength goes down. You have used up today's free lap time announcements.
Please upgrade to enjoy unlimited laps. You have used up today's free lap time announcements. Please upgrade to enjoy unlimited laps. Please upgrade to enjoy unlimited laps. You have used up today's free lap time announcements. Please upgrade to enjoy unlimited laps.
Like so. You have used up today's free lap time announcements. Please up. Calibrate. Calibration started. Please fly through the gate at two or three times. 1622. Hallelujah. We fly through the gate. We and we fly through the gate. 10 seconds 40. And we fly through the gate. And we fly through the gate. And we fly through the gate.
Now, in reality, I would be flying the actual race course and flying through the real gate. You can see, as I did that, the signal strength peaked and that's how it's measuring my time. Now that that's done, there are a couple other settings we could tweak and their instructions here for how to tweak them. If you're getting double counted laps or missed laps,
We're going to go ahead and move on, but I did want to show you that those things are tweakable, because those of you who run races know that it's very important that they be tweakable. What else can I do with this? If I go to racers, I can actually put in individual racers. So I can have groups of racers, and I can drag those racers into groups. The next MCK is the names that they have.
Head's up. All my friends from Knoxville. Oh, we need more timers. Right, because if you're going to have pilots in a group, you're going to have more than one pilot running at the same time and you need more than one timer. Well, that makes sense. And if I hit Announce, it will announce the racers who are coming up in the next heat.
I can also run a race. If I choose to run a race I can run it in qualifier mode where we're going for the fastest number of consecutive laps. Here we've got fastest three consecutive laps with a max race time or I can go for brackets mode where we'll go for total laps, fastest time on total laps. We've also got options to tweak the race start in less than five or on three beeps as well as a few other options.
All races. I wonder if I run a race. Race. Racers up next. JB R8. All pilots. Less than five. Clock is now running. And... Wee! Oh, it's not... It has to be plugged in, dumbass. Whole shot, JB. Oh, I got the whole shot. Wee! So then... What about now? Submit race.
Stats. Oh, there we go. But there are my historical stats. Oh, plot trend. Oh, that's really cool. A little bit bummed that it looks like I have to actually run a race. Like, if I'm just running practice, it doesn't seem to log my times as far as I can tell. Guess what I could do is I could run a race, a qualifier, max race time.
Oh, there's a minimum lap time. That's why I didn't log my lap. Max race time in minutes, 60 minutes. No. 60 minutes consecutive laps, best consecutive laps. Let's say three, one pass per lap. And okay. But then if I just say start race. All pilots, less than five, R8. Full shot JB. One, two, three, four.
9.933 8.29 8.22
And then pay attention to the individual lap times. In fact, I could even just set consecutive laps to one and it would just do my fastest one lap. Or I could run it like an actual qualifier and try and get consecutive laps. When I was done, I can hit finish race and submit race and then go to stats and I can actually look at my times and see how I did.
It does have historical stuff, but only for races you've actually run.
How can I get it? And one way you can get it is to build it yourself. And I'm going to show you basically how to do that. But there's another way you can get it, which is to just buy it and they'll make it for you. I'll show you that in just a minute. The first thing you're going to need to build this yourself is this little device. This is a NodeMCU, NodeMCU, like you see right there, ESP32 dev board. I'll put a link in the video description to a place where you can buy
It is a little bit different than the one that they've got on their website, but I was able to make it work, and so that's the one I'm going to link you to. You're also going to need one of these. This is an RX 5808 analog receiver module. This is the thing that actually picks up the 5.8GHz signals and reports the signal strength to the NodeMCU. That is it. That's all you need. Well, that and a few of these resistors. If you don't have
There is a 100 kilo ohm resistor between the ground pin and the RSSI wire.
And you can see that right here. Here's the 100 kilo ohm resistor. Here is the RSSI pad and here is the ground pad. You'll notice that the wire is coming off on the RSSI side of the resistor. So the resistor is going to be soldered to ground and then the wire is going to come off the far side of that and then that's going to go to RSSI. If this wire were soldered up here or if this resistor were over here, that would be backwards and that wouldn't work as intended.
The diagram shows ground and VIN as being these two pins on the node MCU, but the pinout of my node MCU did not quite match this. So always double-check the labels on your node MCU before you're soldering up to make sure that it's going where it's supposed to go. If you look very closely, you'll see five volts here. That's correct for the VCC wire. But then the one next to it, I thought at first it was labeled ground. It's actually CND.
I don't know what that means, but I do know that if you solder the ground wire to it, then your whole thing doesn't work. So don't do that. I actually found ground over here and soldered the ground wire there. So make sure you've got that correct.
And then the other thing to look for, you can see that the RSSI wire is going to a pin labeled GPIO34. And it's supposed to be right here on the node MCU, but again, the pin out differs a little bit. And so you're going to have to just look. And you can see right here, we found the pin labeled P34. That's the same thing. And that is what you want. And the same thing is going to be true for these other wires going to GPIO23.
The final step is going to be programming the NodeMCU with the code for FPVSIM timer. And you're going to do that by downloading an app. It's actually based on the ExpressLRS configurator app.
If it looks familiar, that's why. This app is going to install all the necessary drivers and then it's going to download the necessary code and compile the code and flash it to your device. All you need to do is hold down this bootloader button right here
Hold down the bootloader button and then plug in USB while holding down the bootloader button that puts it into bootloader mode and then click flash in the configurator and it will compile and flash the code to the device. And I can even sort of tuck it together and tape it up like this to make it a little more compact, but I wanted you guys to be able to see the wiring.
I think if there is a downside to the FPVSIM timer, it's probably the pricing. And you may be thinking, Barbara, what do you mean? It's so inexpensive. You either spend 20-ish bucks to buy these parts and put it together yourself or you spend about 30 bucks. This is the pre-made one. It actually came in the mail between the time when I started recording this and now. So you can actually see. And it's like, I would totally spend 10 extra dollars for the pre-made one over the kind of janky self-made one unless I was
I was a race director and I knew I was going to need to have four to eight of these so I could have multiple pilots in the air at a time. At that point, saving ten bucks per would add up. But for an individual, thirty bucks. No big deal. But as you saw earlier in the video, there is a subscription-based model. Well, if you don't pay, eventually it starts shouting at you and becomes really annoying to use. Let me show you the pricing.
So here is the FPVSIM timer website, and as we scroll down, there's all these links to download the app, get a kit. Great, great. If you keep scrolling down, eventually download the app, get a kit. And you keep scrolling down and eventually subscribe now. It takes you to the subscription page. And the subscription is super confusing. At least it is to me because they also make a simulator. So there's like a permanent license. Oh, that sounds good.
$17 for a permanent license for the simulator. Has nothing to do with the FPVSIM timer. Keep scrolling. The starter license. This is the one I'm on now. It is free. The premium license. Here we go. $5 a month. And that gets you simulator access, five logs, track at most, FPVSIM timer, solo racer features. There you go. So for $5 a month, you get the solo racer features. That lets you use one timer at a time.
Great for practicing, no good if you want to run races or have multiple people in the air at the time. And then there's the solo license, which is a $12 one time per in perpetuity fee for the timer, but no multi-racer event support.
And then there's event basic, but what is this? Oh, $29 a month gets you access to the simulator and all the timing stuff, whereas $19 a month gets you access to just the simulator event stuff. And so you're going to pick one of those that works for you. And if you're, again, an individual, you'll pay probably $13 a one-time fee. Don't pay the subscription. Why would you do that? Pay $13 one-time fee, and you have one simulator that you can use forever.
But if you're somebody who runs events, it starts to get like, would you really pay $20 a month forever? Turns out that you can actually change this. You can just go to the website and change it.