Set Up a Custom Router for FPVSIM Timer
Configure a dedicated router for the first time to give FPVSIM Timer a stable race-day network.

Choose and configure a dependable 5 GHz Wi-Fi setup for low-interference FPVSIM Timer events.
This tutorial explains why a timer's direct 2.4 GHz hotspot may become unreliable around active RC transmitters, then demonstrates a dual-band router layout: the timer joins 2.4 GHz while the phone or computer uses a carefully selected 5 GHz channel.
Available channels, power limits, and dynamic-frequency-selection rules vary by country and router. The frequencies in the video are an example, not a universal channel plan.
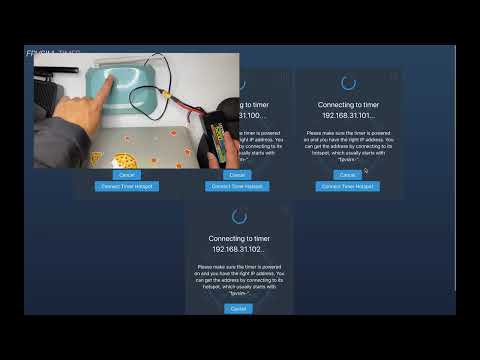
The timer hardware shown connects to the router's 2.4 GHz network. Confirm that its IP remains reachable before changing the app-device band.
Join the phone or computer to the router's 5 GHz network, provided both bands share the same local network and client isolation is disabled.
The video selects a lower 5 GHz Wi-Fi channel, below the common 5.8 GHz analog FPV range. Use only channels allowed for your location and supported by every device.
Apply the router changes, wait for the radios to restart, and verify that the app can still reach the timer.
Test with the real radios powered, several pilots active, and the intended device distances. Watch for disconnects rather than assuming the band change eliminated all interference.
Lower 5 GHz Wi-Fi can create useful separation from 2.4 GHz RC traffic and 5.8 GHz FPV video, but walls, range, other access points, local regulations, and router channel selection still matter.
This transcript was cleaned from the public English captions. RF terms were corrected, and the example channel is presented with the regulatory and equipment limits that apply outside the recorded setup.
About 00:00
The timer hotspot can work well until several RC links are active. Frequency-hopping control systems occupy parts of the 2.4 GHz band, while Wi-Fi waits and retries on its selected channel. Under enough traffic, the timer connection can appear to stop responding.
About 01:30
A low-cost dual-band router provides another arrangement. The timer still joins the 2.4 GHz network, but the phone or computer running the app joins the router over 5 GHz. The router carries traffic between the two bands locally.
About 02:10
FPV video also commonly uses frequencies around 5.8 GHz, so do not choose the Wi-Fi channel without checking the video plan. The lower portion of the 5 GHz Wi-Fi band can provide separation from the common FPV channels shown in this example.
About 03:00
Open the router wireless settings and select an appropriate lower 5 GHz channel. The demonstration uses a channel around 5.24 GHz, away from its FPV channels around 5.7 to 5.9 GHz. Save the setting and test the connection. Your router interface and permitted channels may differ.
The timer shown in this tutorial remains on 2.4 GHz. The phone or computer moves to 5 GHz, and the dual-band router connects the two sides.
Both systems use the same broad band. Frequency-hopping RC traffic and other users can leave Wi-Fi retrying frames, especially in a crowded event environment.
There is no universal answer. Select a locally permitted channel supported by the router and app device, separated from the event's FPV video plan and other nearby networks.
Confirm that both SSIDs belong to the same LAN, disable guest or client isolation, verify the timer address, and test from close range before investigating RF congestion.
Keep learning
Configure a dedicated router for the first time to give FPVSIM Timer a stable race-day network.
Repurpose an old phone to extend FPVSIM Timer network coverage when your race venue needs more range.
Assemble the FPVSIM Timer Solo hardware and complete its first-time software setup.