FPVSIM Timer 5.0's auto-calibration learns RSSI peaks, entry thresholds, and exit thresholds from real crossings. This tutorial explains how to collect a representative sample at the final timing point, turn off VTX when prompted, review the calculation results, and use a true-paced test race to confirm that there are no missed laps or mistimes.
The automatic calibration learns the route you actually flew out.
Instead of generating a universal threshold out of thin air, the auto-calibration analyzes the shape of the RSSI as the quadcopter crosses timing points from its actual location on the track. If the sample deliberately slows down, sticks to the timer, or takes a different route than the competition, the values obtained may only be suitable for these special flights.
Place the timer in its final position, select the actual VTX channel and power used, confirm that the real-time RSSI will change as the aircraft approaches, and clear out interference from other nearby powered VTXs. It is best for the timing gate to create a clear peak, and other locations on the track should not produce higher signals.
Run automatic calibration process
Select calibration in the Timer App, read the instructions completely and then take off. The Timer 5.0 interface in the video requires crossing the timing points three to four times at normal speed, then turning off the VTX when explicitly requested by the application; the baseline after turning off helps the process complete the analysis.
The video example finally reports the number of crossings identified and calculates peak, entry and exit thresholds. Don't just look at the "success" prompt, open the history curve and confirm that each strong signal peak is indeed coming from the timing point and that other RF fluctuations near the track did not cross the threshold.
Only fine-tune based on evidence
If a certain non-timing line in the history is close to the threshold, you can make small adjustments within the range provided by the current version, or try to apply another calibration mode provided. Dragging multiple parameters sharply at once will lose the baseline for automatic calibration, and it will be difficult to tell which modification is effective.
Resampling should occur after substantial changes in timer position, channel, VTX power, or track layout. Automatic calibration reduces the effort of manually adjusting the sliders, but does not eliminate the need to review RSSI history and understand the track RF environment.
Review at normal game pace
After calibration, start a real test and fly multiple circles continuously at normal speed. The ideal result is to only record once each time it passes the timing point, and nearby flights will not trigger a new lap; if it is only normal at slow speed calibration but misses laps at race speed, it should be calibrated again with a representative speed.
Finally, the calibration value, physical location of the timer and test results should be saved at the same time, so that it can be judged whether it needs to be redone after the on-site layout changes, instead of blindly moving the old values to the new track.
Operation steps
- Fixed timer vs. actual channel
Place the timer to the final timing point, select the VTX channel and power to use for the game, and confirm that the live RSSI is responsive.
- Start calibration and read full prompts
Confirm the required number of crossings and the final action before taking off; the copywriting may be different in different application versions.
- Fly several times normally
Pass the timing point according to the true route, speed and altitude. Do not deliberately get closer or slow down for calibration.
- Close VTX only after prompt
Let the application obtain the RF baseline after shutdown and complete the analysis.
- Review the learned thresholds and history
Check each strong peak and lap results to confirm that other locations on the track do not cross the detection threshold.
- Run a real test match
Fly multiple circles continuously to verify that the target crossing is stably recorded and there are no false triggers from nearby flights.
FAQ
How many flights are required for automatic calibration?
The Timer 5.0 prompt in the video is three to four times, with successful examples analyzing more traversals being recognized. You should follow the current application prompts and give priority to ensuring that the samples are consistent and represent real games.
Why shut down VTX in the end?
This video recording process uses the signal after VTX is turned off as part of the complete analysis. Do not shut down your phone early and wait for the app to explicitly prompt you.
Do I still need to check the RSSI history after the calibration is successful?
Yes. The success prompt only indicates that the algorithm has given a result, and history can show whether other positions on the track are also close to the threshold, or whether a certain crossing was missed.
When should I recalibrate?
Representative samples should be retaken when moving the timer, changing channels or VTX power, significantly changing the track, or when repeatable missed laps and extra laps occur.
Can I manually change the threshold value after automatic calibration?
Not recommended. First find specific problems based on history, then make small modifications to a single item and retest; drastically modifying multiple values at the same time will make the results difficult to interpret.
Full timeline transcript
Transcripts are arranged according to video time, making it easy to quickly locate the explanation content. Transcript language: English.
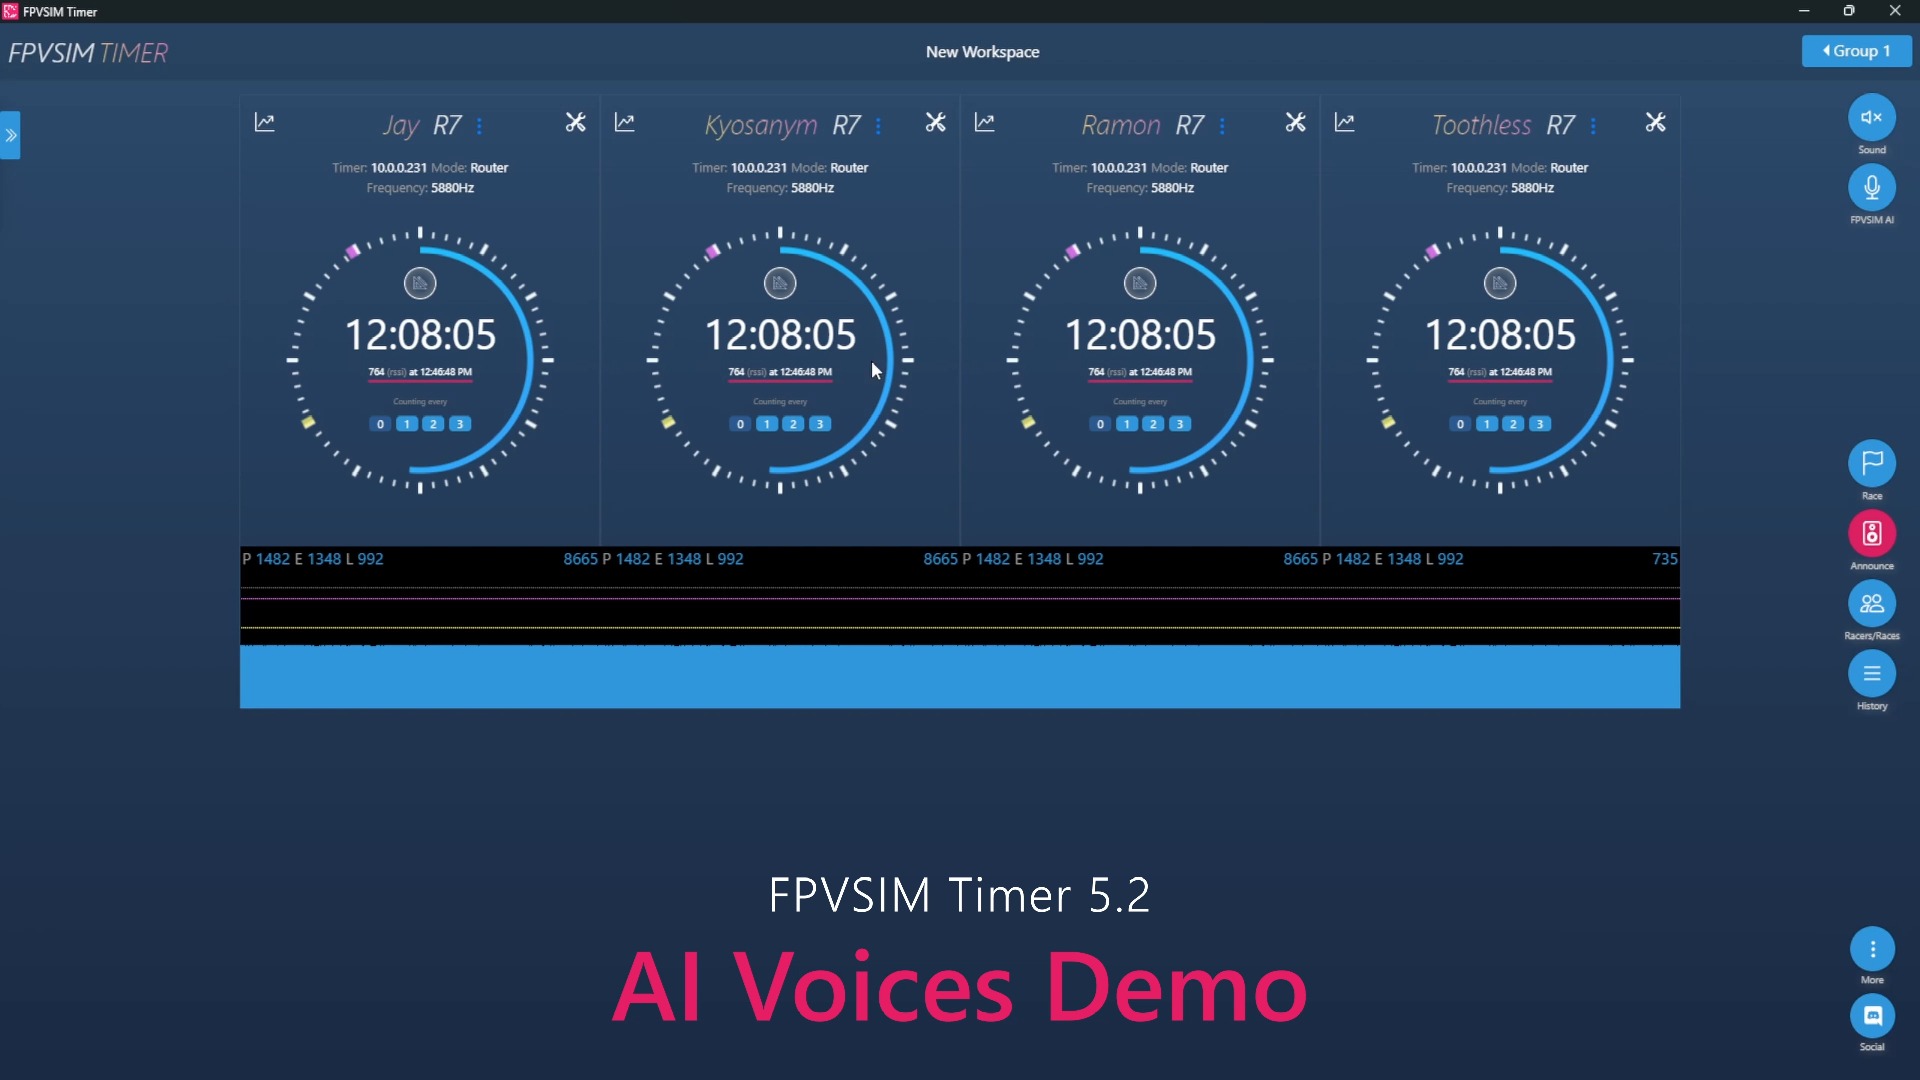
What's up, my drone friends? Wanna hear some exciting news? This is Jay from FPVSIM. Today, I'm gonna share with you some exciting new features we're gonna release in FPVSIM Timer 5.0. The first feature is a feature that I have dreamed of. Ever since I started this project four to five years ago. It's called Auto Calibration. Let's take a look. Okay, first, let's take a look at our truck. As usual, I put a timer here.
To start calibration, just click on this calibration button. You can also enter the calibration mode by going through the menu of the timer. And here you can see the calibrate button. Previously, this calibrate button will only be able to calibrate the peak.
Now it will also be able to calibrate your enter threshold and the lead threshold. This is actually one feature that I have been dreaming of ever since I started this project. So I'm really happy that this is finally coming into reality. So let's see how it works. You can see that all these peaks, the enter threshold, the lead threshold is not calibrated at all. You can see like they're all crumbled here. This is actually no VTX to power on.
But let's click Calibrate and then fly the track as you would normally do. Calibration started. Please fly through the track as you would normally do for a pack, passing the timing gate three to four times. Calibration will finish once you power off your VTX. Let's follow the instructions. It's very important that we fly the track as we would normally do, since the calibration process actually learns our RSSI patterns as we fly the track.
OK, in the meantime, I will also start the race, so that we can see some of the race logs.
Cool, as you can see the calibration process has finished and these are the values that the program has deduced. Let's take a look at how well these values work. We'll just finish the race. You can see that the peak value enter threshold and leave threshold is set. Looks pretty good to me. There will be no false reading. There will also be no missed readings.
In some places, the enter threshold might be a little bit too close. For example, here, we might run the risk of triggering, we might run the risk of force triggering in some of these places. But it's pretty close, pretty close to perfect. If you have identified these places, you can just manually move the enter threshold a little bit higher, just like this.
New flight begins. You rested for 2.8 flat just now.
19-1.
Do something I call a pack summary. It tells you how long you have been flying and how long you have been resting. So that you actually have a grasp of what your pace is. Are you wasting any time? Like are you resting too much or are you flying too much or flying too short? You can control that feature through here. Right now it's turned on and if you click on it, you turn the announcement off. What we call pack summary. Another feature worth mentioning is these minus and plus buttons.
Because sometimes on phones it's really hard to touch these sliders. Now you can just use this to tweak your calibration values when needed. But the auto calibration now works well enough that we don't think you need these sliders much anymore. That's awesome. This is FPVSIMJ. Thank you all for watching. Now I'll see you next time.