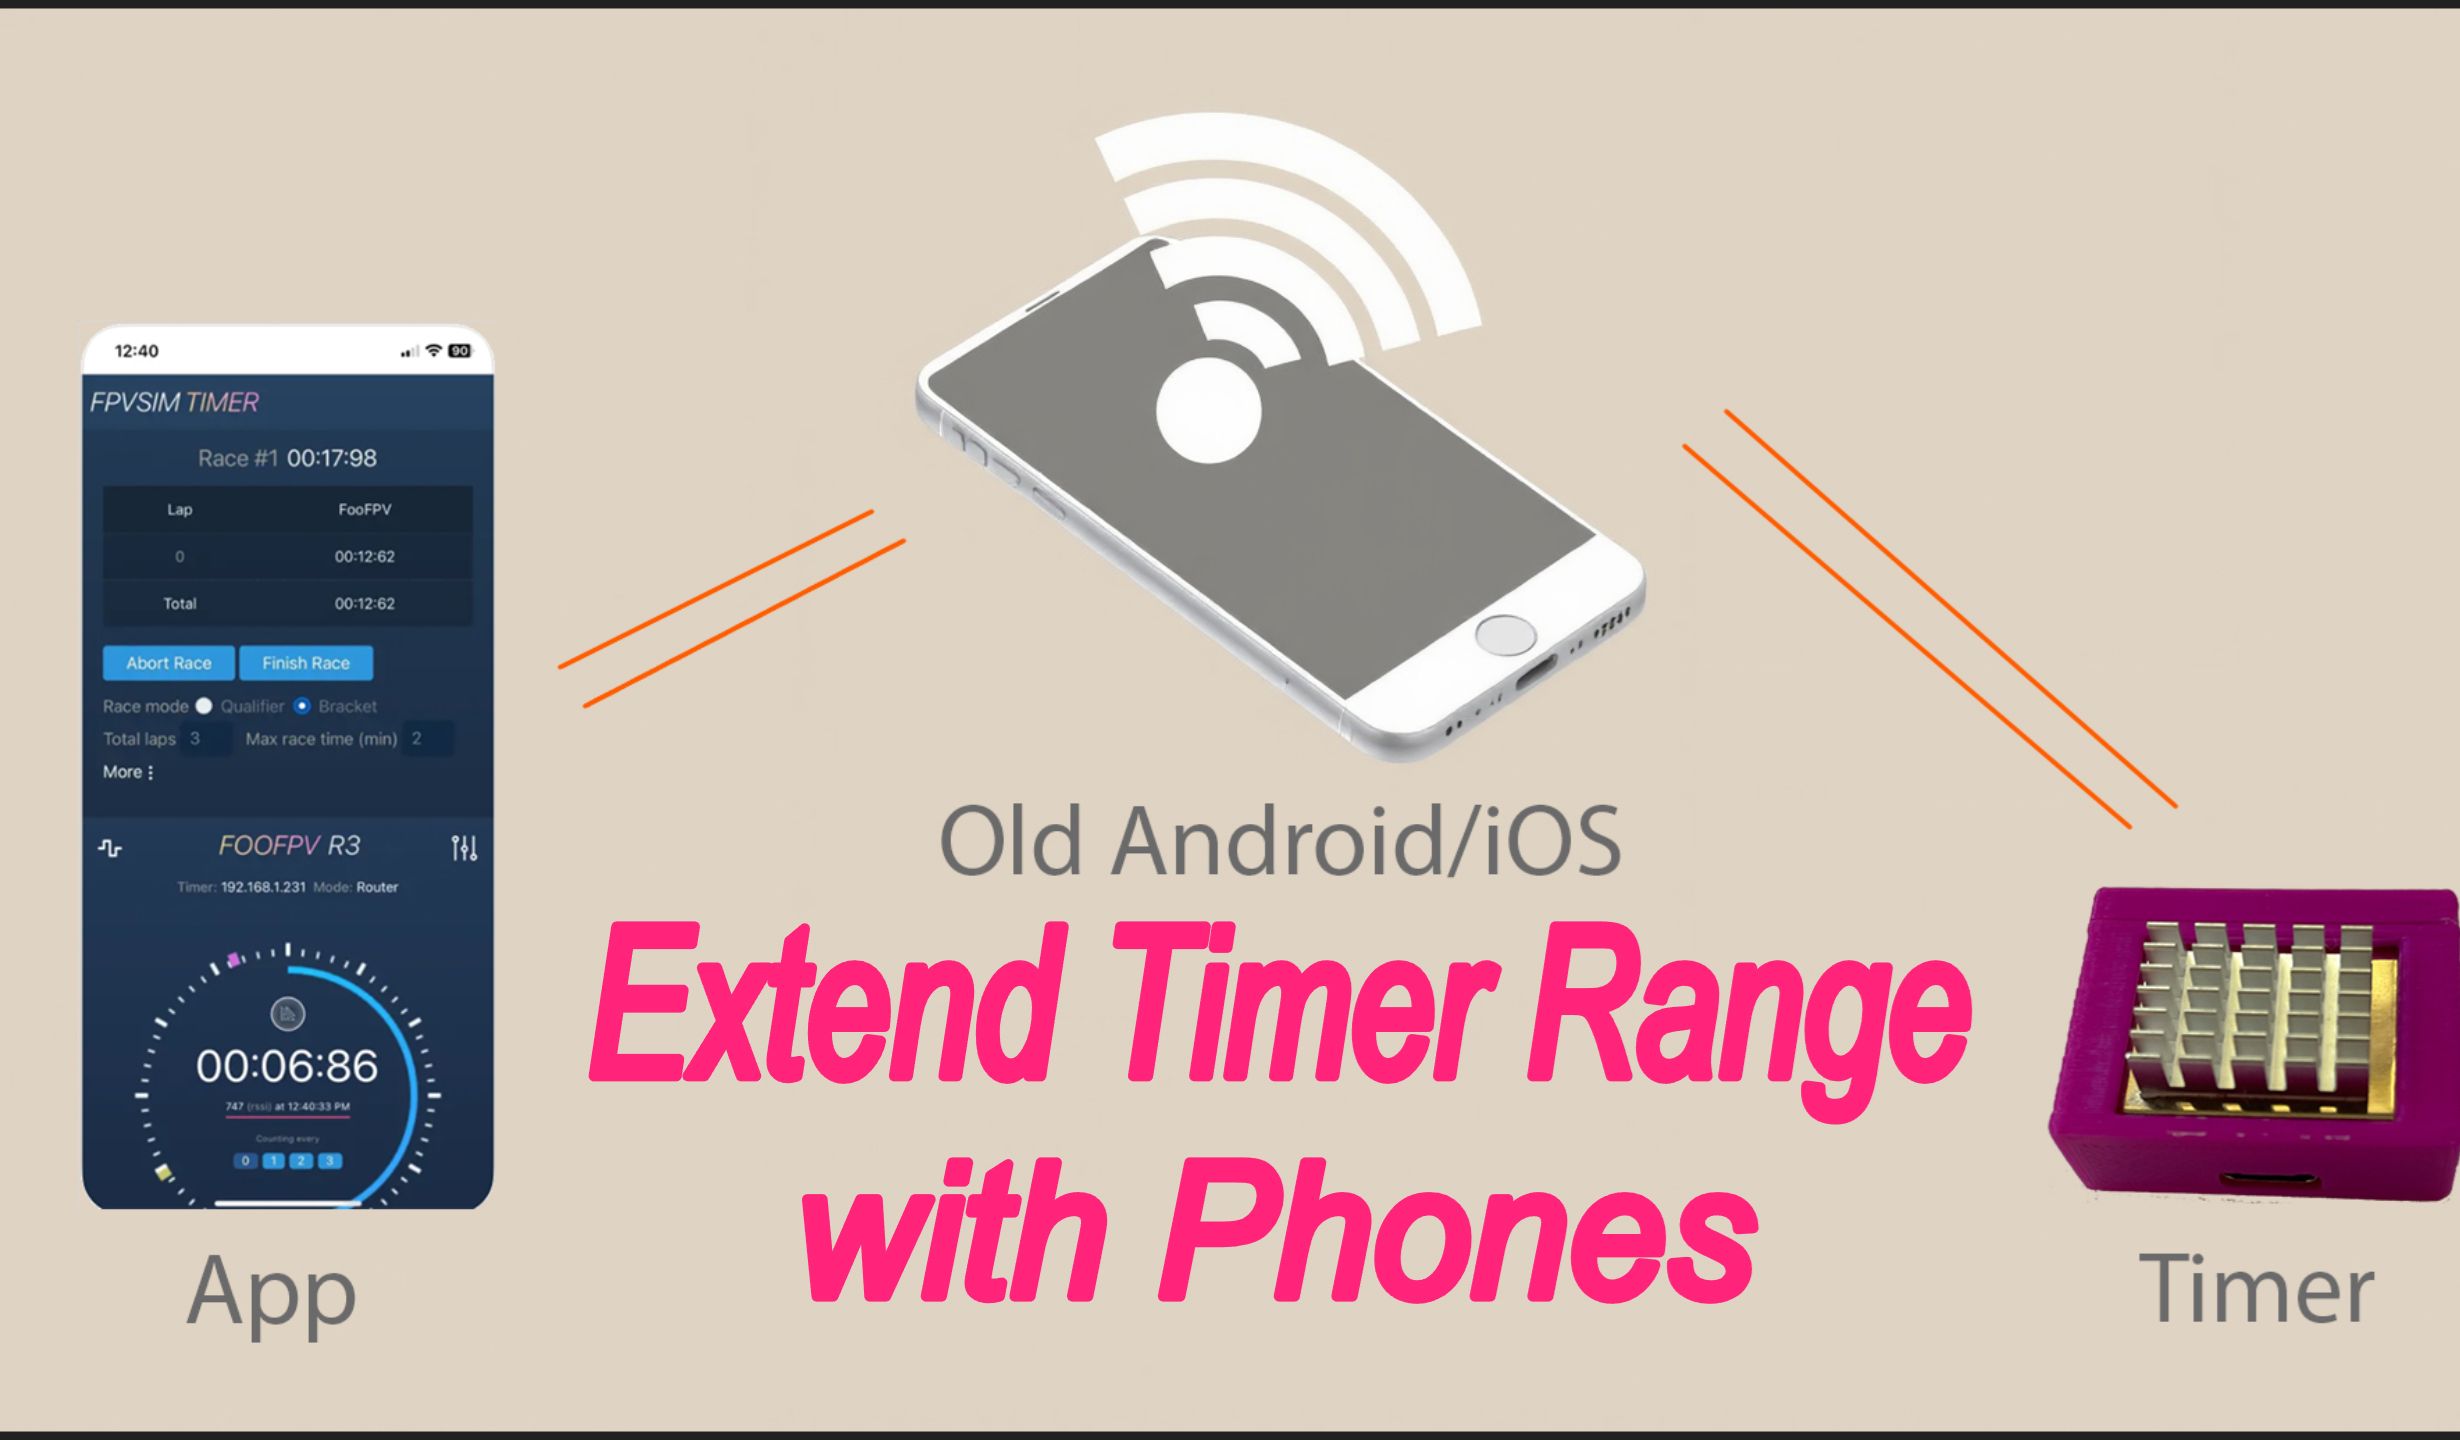
This tutorial assembles a FPVSIM Timer timing unit from scratch: prepare ESP32, RX5808, a 100 kΩ resistor and three 1 kΩ resistors, complete RSSI, power supply and SPI related welding; after flashing the firmware, connect the timer to the 2.4 GHz router from the self-built hotspot, and reserve and fix its LAN IP through DHCP address.
Hardware preparation and soldering principles
Video using ESP32 development board and RX5808 receiver board. One side of the RX5808 needs to lead out contacts such as power supply, RSSI, D line, and CH1 to CH3: a 100 kΩ resistor is connected between the RSSI and D lines shown in the video, and three 1 kΩ resistors are used for CH1, CH2, and CH3 respectively. Different ESP32 variants may have different pin labeling and power supply capabilities and cannot be copied based on appearance or wire color alone.
Before welding, the actual pins such as V-IN, 5V, GND, D34, D23, D5, D18, etc. should be confirmed according to the current official wiring diagram, and the power should be turned off to check for short circuits and false soldering. Heat shrink tubing or hot melt adhesive is only used for insulation and stress fixation after electrical testing is completed and cannot be used to cover up unreliable solder joints. Before sharing the 5V power supply between RX5808 and ESP32, you must also confirm the input and output specifications of the development board used.
Flash the firmware first, then complete the first network connection
This video does not repeat the details, but continues the previous Configurator tutorial. After the firmware flashing is completed, use USB to connect the timer to the computer, first add the FPVSIM hotspot broadcast by the timer itself, and let the Timer application establish a direct connection. This direct-connect hotspot is also an important recovery channel when the router is misconfigured.
Fill in the SSID and password of the 2.4 GHz router to be added in the network settings, save and restart. After reconnecting, read the IP assigned to the timer by the router, and then switch the computer or mobile phone to the same LAN for access. The recording interface belongs to an earlier version, and the menu name and discovery method may have changed. Please refer to the current application prompts.
Fixed address using DHCP Reservation
The router may assign a new IP by default after a reboot or lease update, causing the application to not find the timer next time. Enter the router's DHCP Reservation, Address Reservation or "Static Lease" page and bind the timer's current IP and MAC address. The MAC is a hardware identity, and the retention rule will allow the same timer to continue to obtain a scheduled address in the future.
The management addresses, accounts, and menu locations of different brands of routers are different. Do not copy the sample credentials in the video. After completing the reservation, you should restart the timer and router to verify once, and test the wireless and wired connections on the event computer. If you are pursuing stability, you can connect your computer to the router via a network cable, while the timing unit continues to use 2.4 GHz Wi-Fi.
Safety inspection before completion
First power on in an open environment, confirm that there is no abnormal heat, odor or repeated restarts on the board, and then perform insulation packaging. Then check RSSI readings, channel switching, hotspot restoration and router reconnection one by one. Only once the hardware, power supply, and network are stable should it be incorporated into the official timing system.
Operation steps
- Prepare ESP32, RX5808 and resistors
Check the development board variant and the current wiring diagram, prepare a 100 kΩ resistor, three 1 kΩ resistors and appropriate wires.
- Handling RX5808 contacts and resistors
Lead out the power supply, RSSI, D line and CH1 to CH3 as shown in the video, and complete the resistance welding in the power-off state.
- Confirm ESP32 pins and power supply
Check V-IN, GND, D34, D23, D5, D18, etc., and guess the pins without color.
- Connect two boards and do electrical checks
After completing the power supply, RSSI and SPI wires, check for short circuits and false soldering. Do not seal until the test passes.
- Flash firmware and add timer hotspot
Use the flashing process introduced in the previous issue to write the firmware, then power it via USB and connect the timer to its own hotspot.
- Configuring 2.4 GHz router
Save the router SSID and password in the application, and read the LAN IP obtained by the timer after restarting.
- Establishing DHCP address reservation
Bind the timer's MAC address to the predetermined IP in the router, and validate the rule by restarting it.
FAQ
Why can’t I just copy the wire colors from the video exactly?
Color is the author's choice at the time and does not represent electrical functionality. The pinout and power supply of different ESP32 variants may also be different, and the current wiring diagram and on-board silkscreen must be used as the guideline.
Why do timers have to use the 2.4 GHz network?
The ESP32 timing unit in the video joins 2.4 GHz Wi-Fi; if the router only opens 5 GHz, it cannot connect to the Internet according to this process.
How to restore the router password after configuring it incorrectly?
Rejoin the timer's own hotspot, check the SSID, password and network band through direct connection, then save and restart.
Why reserve a DHCP address?
Application found timer via LAN IP. After binding the MAC to the IP, the address will not be easily changed during restarts or lease updates, making event deployment more predictable.
Full timeline transcript
Transcripts are arranged according to video time, making it easy to quickly locate the explanation content. Transcript language: Simplified Chinese.
OK, let's first take a look at what components are needed. First, an ESP32 development board, then an RX5808 board, then a 100K resistor, and then three 1K resistors. I'm almost running out of them here. First, let's prepare this RX5808 to connect the first line to the required contacts. We need it. Then we also need the RSSI, which is the Wufu one.
Another D line is also needed, and then the three SPR interfaces. After the show, let's add this resistor. First, connect this 100K resistor to the RSSI between the RSSI and the D line. We will remove the extra part of this part later. Now, during the insurance period, students pursuing insurance can put a layer on it.
Thermal lock tube can achieve unexpected results. I will use this hot melt glue to fix it a little later, and also make other effects appear. Then we have three 1K resistors, connected to CH1 to CH1 to CH3. This should be the sweat bowl. Let's cut off the excess head. Make sure there is no sweating.
This one is a little bit bad, but it should be from old bones. OK, give it to the RX580, we are ready, and then we will prepare the ESP32 software. There are many variants of the ESP32 software, so please pay attention when buying it.
Logically speaking, there should be no problem. It’s just that the power supply of different variants is slightly different. The one I used is that it has a D line and a V-IN and V-IN. Logically speaking, it should be able to support relatively high voltages. Like me, I usually give it 5V. This 5V can be directly supplied to this RX5808. It can share a power supply, so it is more convenient to buy. Please pay attention to it. Now I will select the contacts I need to use.
I like to bend it directly so that I don’t have to look for it later. Like here, I need this V-In and Ground. I fold it over and then I need a D34 here to read this RSSI. You can see the specific connections on my website. I will put the connections below later. Then here I need this D23, which is the SPI port, and then there are D5 and D18.
Students who have the conditions can draw a PCB by themselves. This should be a lot easier to make. OK, let's prepare the points that will be soldered later. Then, I will connect the drawing boards here. OK, I found six wires and now they are connected one by one. There is still a little extra header in this place. Let's cut it off. I usually like to connect the RX5808 first, so why not?
Connect the SPI port, three SPI ports, power supply, black and red two wires, blue and gray two wires instead, low wire, negative wire, RSSI, RSSI uses the same color as the low wire, can't find other colors, let's do it next
Make the wires shorter. At this time, I won't make the length of each wire so precise, because later we will fold it onto this board anyway, open a little thread and come out. After sucking it up, let's connect this. First, connect this RSSI. RSSI. I know it is the third time. What is this blue wire? Then the two power wires, blue is, blue is the ground wire.
The gray one is 5V, so the blue one should be inside. OK, we should have practiced this side well, let's practice the SPI interface again. SPI interface, if you remember correctly, CH1 should be connected to the most common wire, which is D23, that is, the green wire is connected to D23, and then CH2, the black wire should be connected to D5.
Now our connection is complete. Now that the wiring is done, let’s take a look at how to set up this timer unit. After we debug it first, we will add this hot melt glue to it, bind it, and do some insulation. Next we flash the timer firmware. Because brush writing has been mentioned in the previous video, I will not keep track of the numbers in this video. Then after the flashing is completed, we connect the timer to the computer through a USB cable.
ok After connecting to the computer, you can go to the wifi and find this timer. The exposed hotspot is like ours. Because I already have another timer here, there are three of these FPVSIM steel. Uh, my new one should be this steel Y. Because steel Q and steel U know that they are two old timers, I will connect to this FPVSIM. Steel Y. This is the name of our new timer.
After connecting to the hotspot, we open the software side of the timer, then connect to the timer's hotspot, and it can connect. After connecting, we open the settings and go inside.
You can see that the IP address of this hotspot here is the IP address we just connected to. Then we put in this WiFi the name of the router we need to connect to. If you want to always connect as a hotspot, you don’t have to do this step. We can take a look at what the name of our router is here.
FPVSIM, Timer2, 2.4GHz, USB3.2 to 6GHz, 2.4GHz,
At this time we continue to connect to this hotspot. Connect to the hotspot Let's look at the IPVSIM in this table. You can see that its IPVSIM is 192.168.1.103. How do we connect to it through the router at this time? Just push it into the router at this place. As you can see on this interface, the connection mode here becomes a router.
At this time, you can directly connect the computer and the router through a network cable instead of going wireless. For this event, if you want to eliminate all interference, this is the best choice. You may also want to ask me if it is annoying to go to the hotspot mode every time to find its IP address. Is there a way to fix the IP address? In fact, the setting method of each router is slightly different, but this function is definitely there.
Let me take the router I use as an example. We first find this light and go to the router. It is usually the user password of 192.168.101.1. You can check the user password of your router yourself. OK, different routers have slightly different setting methods. Here I will use the 4-piece 1.250 in my hand as a demonstration to show you.
This function should be available in every router. It is not an advanced function. Go to the Reservation of DHCP. This router is placed here. I already have two timers set up. Then we can see that 101 and 101 are the timers that these two already have. Then this one is 103. We put this IBD only on me. IBD only on 103 and then put this MACD on only this MACD.
MacDIS is equivalent to the hardware address of the timer. Every time the timer is connected, the hardware address is exactly the same. I'll give it a name, Time 3, and add it. When the router sees this timer, it knows to give it the IP address 103. In this case, we save the step of going to the router through the hotspot light to see its IP address every time. Because you directly know that its IP address is 103.
In this way, we can directly turn on this timer every time in the future, turn on the router, then turn on our computer or mobile phone, then connect WiFi to the router, then turn on our timer software, and everything will be linked by itself. There is no need to set it every time. Only the first time you need to set it, it is very convenient to click and use in the future.
OK, that’s it for this video. In the next video, we will take a closer look at some specific usage methods of the software, especially the support for multi-person timing. Thank you all.