This tutorial uses a repeatable test method to tune the browser version of FPVSIM, focusing on explaining the Render Denominator, single/multi-core physics, performance charts, standalone Chrome profiles, and optional Chrome launch parameters with video demonstrations. The goal is not to pursue maximum numbers, but to achieve stable frame rhythm, physics load and handling latency in real-life scenes.
Establish a comparable performance baseline first
Fixed map, drone, camera and flight path before changing settings, recording current Render Denominator, physics thread mode, graphics loop rate, physics load and memory. Only change one variable each round and fly the same scene again; if you change the map, thread and browser parameters at the same time, you can't tell where the improvement comes from.
Low-spec mode favors compatibility, High-spec mode provides Render Denominator adjustments used in video. The large FPS numbers in performance graphs represent graphics loop iterations and are not equivalent to the monitor's physical refresh rate.
Tuning Render Denominator and Physics Thread
The lower the Render Denominator, the more frequently the graphics loop will run; however, a value that is too low may result in constant jitter or unstable frame rhythm. It should be gradually lowered to find a balance between more sensitive control and stable picture; once continuous stuttering occurs, return to the previous stable value.
Simple racing tracks sometimes have lower end-to-end latency with single-core physics; larger scenes such as Google Maps, Lake House, or Floating Islands may be better suited to distributing computation across multiple cores. After turning on Performance Stats, observe the physics load and motion consistency at the same time: no matter how high the graphics cycle number is, if the physics load is too high for a long time, the flight may still be unsmooth.
Exclude the impact of browser extensions and background pages
Create a new Chrome profile for FPVSIM without installing extensions, close redundant tabs and other high-load pages, and retest using the same scenario. This eliminates screen recording extensions, development tools, or background web pages from competing for CPU and memory.
F5 refresh can sometimes clear up occasional session exceptions, but is not a substitute for diagnosing repeatable problems. Some simulator runtime settings require a world reload to take full effect, so a consistent reload process should be used for each comparison.
Be careful with the Chrome startup parameters in the video
Video appends --args --disable-gpu-vsync --disable-frame-rate-limit to the Windows desktop shortcut to turn off Chrome's GPU VSync and frame rate limits. The method is to add a space after the quotation mark at the end of the chrome.exe target path, and then append the parameters; after application, close all Chrome windows and restart from the shortcut.
These are advanced browser parameters that are not guaranteed to work long-term. Chrome version changes may render them invalid or unstable. The original shortcut should be retained first to compare the real sense of control and stability; if the browser is abnormal, the parameters are no longer accepted, or the performance deteriorates, remove it immediately.
Operation steps
- Record baseline and select hardware mode
Fixed scenes and flight sequences, recording performance graphs; Low-spec is re-compatible, and High-spec only provides Denominator adjustment in the video.
- Adjust the Render Denominator step by step
Reduce the value and retest. If it continues to jitter or freeze, return to the latest stable value.
- Comparing single-core and multi-core physics
Observe latency, physics load, and movement consistency on the same map instead of just looking at graphics cycle numbers.
- Creating a Chrome profile without extensions
Using a dedicated clean profile, close redundant tabs and repeat the same test.
- Optional: Create a shortcut with startup parameters
Append the two parameters in the video at the end of the Windows Chrome shortcut target, close Chrome completely and start from the shortcut.
- Retain more stable combinations
Simultaneously compare control latency, frame rhythm and physics load; cancel if advanced parameters cause an exception.
FAQ
Should the Render Denominator always be set to 1?
No. Lower may make the cycle faster, but too low may also cause jitter. The lowest value that remains stable should be selected based on the actual hardware and scenario used.
Is that big FPS number on the performance graph the monitor refresh rate?
No. The video explains that it is the rate at which the FPVSIM graphics loop runs and the monitor still displays the picture at its own supported refresh rate.
When is multi-core physics appropriate?
Large or complex scenes can test multiple cores when uneven loads occur in single-core mode; simple tracks may obtain lower latency with a single core on some computers.
Are Chrome startup parameters required?
No. They are only optional advanced experimental parameters for the video demo and may change or become obsolete with Chrome versions; they should be removed if issues arise.
Why is it recommended to create a separate Chrome profile?
Clean configuration files can eliminate the overhead caused by extensions and background tools, making each round of performance testing easier to reproduce and compare.
Full timeline transcript
Transcripts are arranged according to video time, making it easy to quickly locate the explanation content. Transcript language: English.
OK, let's take a look at how to achieve the best performance in FPVSIM drone simulator, specifically for the browser version. The first thing you need to note is the render denominator, which is very different from other games. So for FPVSIM, we use render denominator to control your FPS. The lower the number, the higher FPS it is. If it's too low, lower star jitter. For my setup, I got a...
1200, 700K, Core i7, and NVidia 3080. I can drag this all the way down to 1. So for example here, for the hardware spec, I talk about low spec. Low spec allows the widest range of compatibility. So even some medium and phones can run the simulator. But in the meantime, you have a higher end-to-end latency. If you talk about the high spec,
Then you can start to play with the remit denominator. So here I set it to 1. For example, if we set it to 1, right, let's see what the FPS we get. You can see that I got like over 6000 FPS. Note that the FPS here is basically how many times we run the graphics loop. It's actually real. It runs over 6000 per second.
But your monitor will only be outputting that many refreshes per second depending on your monitor refresh rate. For example, this monitor is 60Hz and I got another monitor of 240Hz. So it will only grab your graphics update 240 times per second. But the higher FPS you have here, the smoother you're gonna get eventually as well.
And if we drag this to somewhere higher, let's say drag it to 100, you can see your FPS will naturally drop. See, previously we got over 6000, now it's around 700.
Another setting previously you can play was physics FPS. Right now, for the new version, V2, we fixed this to 500, but the setting is still left here, so if you drag it, it won't do anything, it will still be fixed back to 500. OK, that is the render denominator. The second setting I want to talk about is the physics calculation, either using molecule or single core.
That is the setting here. So basically when you set it to single core, your physics will be calculated on the same core as the main thread, the main thread basically doing oil graphics, handling, all the inputs, etc. If you set it to multi-core, all the simulation and physics calculation will be uploaded to a different core. Single core gives you a little better end-to-end latency.
When you play simple things like wrist tracks, and multi-core gives you a little higher end-to-end latency, but it's smoother for larger maps. You already use multi-core for Google Maps, Lakehouse, floating islands, for example. But depending on your computer, if your computer can handle the larger maps without problem in single core, use single core for lower end-to-end latency. For all these, you can toggle on performance stats.
To see these diagrams here, that shows you your real-time stats of FPS. Physics flow shows how heavy your physics calculation is. If this is too high, it will start to get inconsistent movements. So try to keep this low. And then the third diagram is memory, showing how much memory you are currently using. So for our browser version, memory is almost negligible.
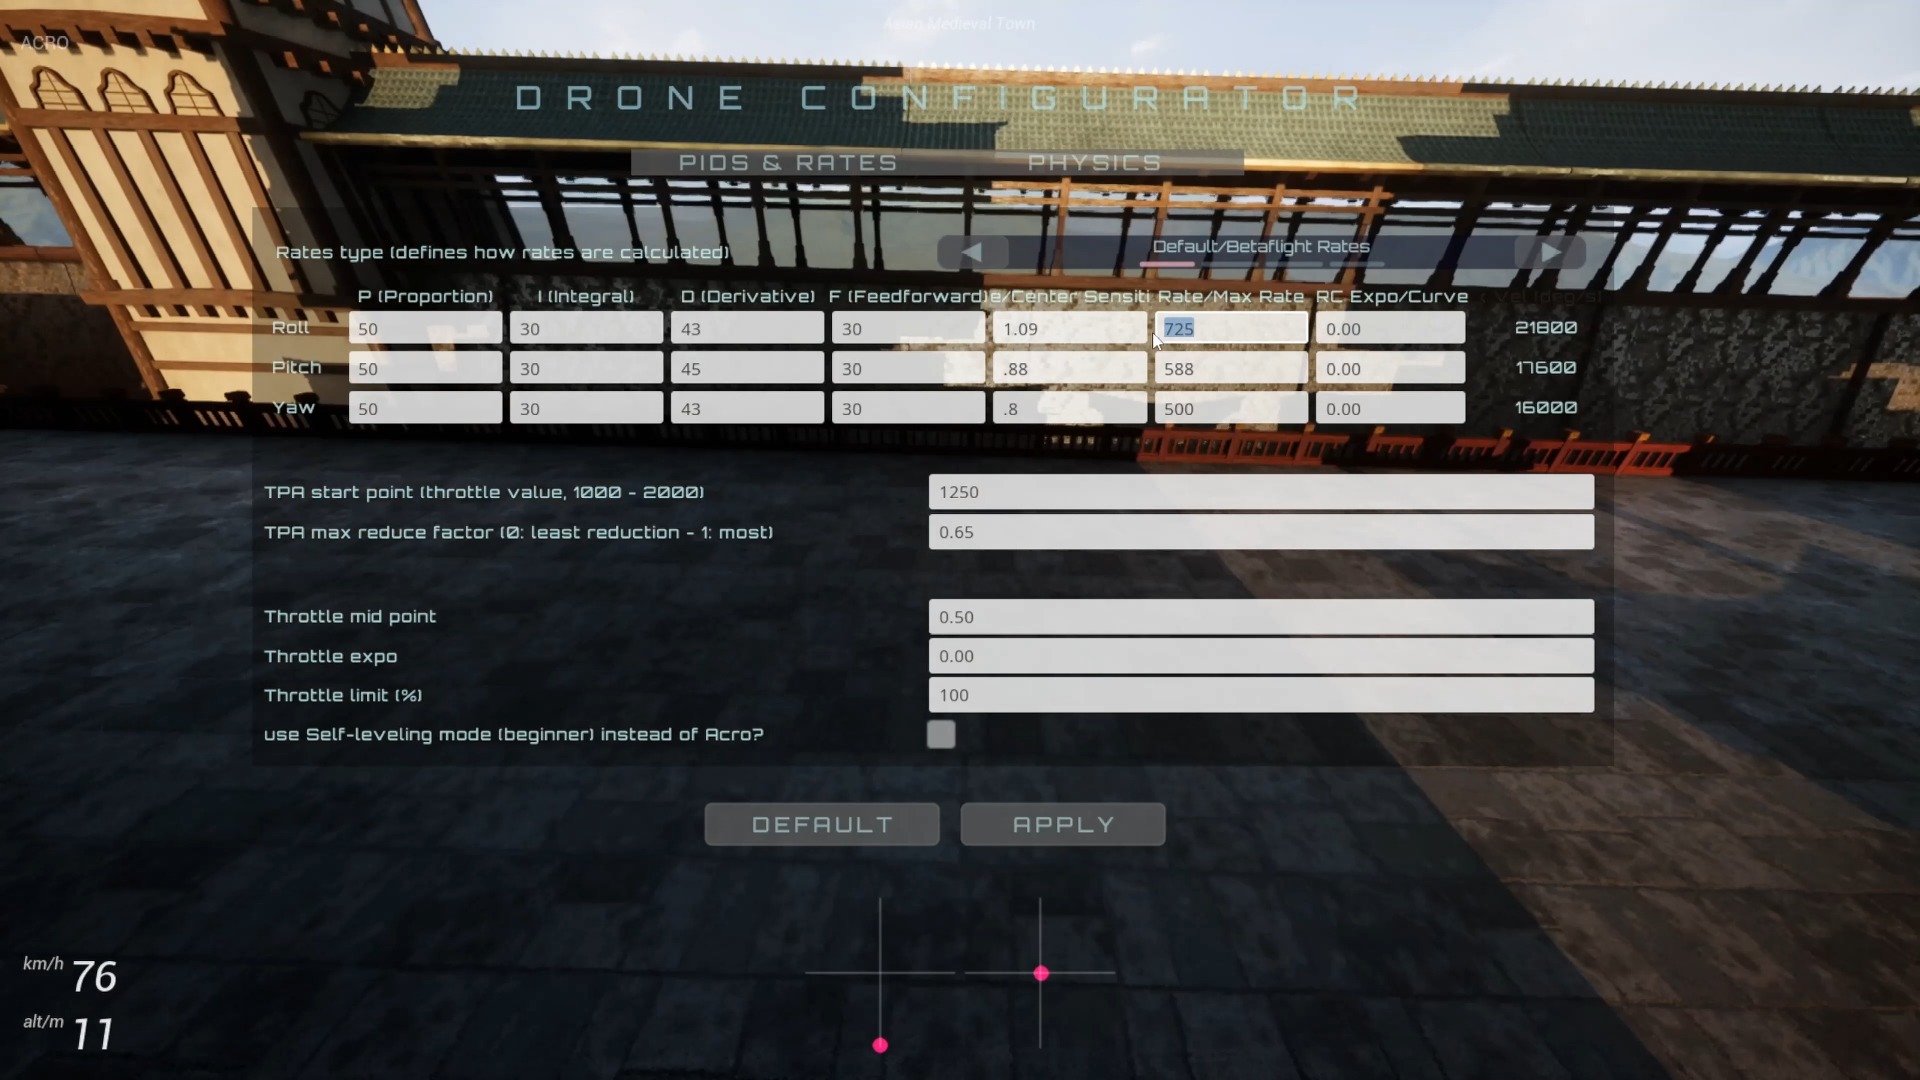
And PID parameter is the same as Betaflight. Basically, all the PIDs are real PIDs. It actually runs the PID algorithm. I'm going to do some tutorial later to describe how to use them. You can find a lot of tutorials online as well how PID and FeedForward works. And the other point is make sure you don't have weird browser extensions you use.
The way I do it is I create a new profile, basically go to Chrome, and add a new profile. Basically, I'll just, for example here, I'll say simulator, and boom, you create a new Chrome profile that doesn't have any weird extensions, and just use this specifically for the simulator, so you don't get these weird extensions affecting your performance. And last but not least is to disable the GPU vSync and frame rate limit.
So how do you do it? In most computers, you will have this Chrome shortcut on your desktop, right? But if you don't, you can go to your start menu, search for Chrome, right? You should be able to find the Chrome after you're installing it. And open file location, and then just copy, copy the shortcut over Ctrl C and Ctrl V in desktop. And then you copy over the shortcut, right?
But if you already have the shortcut, you don't have to go through that. Then how do you add this to your shortcut? Copy over this command, country C, and then go to your shortcut, right-click, go to properties, add in the target field, move your cursor to the end, and then country V, paste the command. We just copy it. So now your command will look like C program files, Google Chrome, application, right, and after
This is hard to see, but you can see that afterchrom.exe is your command, or sometimes you require arguments. And that's it. Click Apply. OK. Now you can close all of your browsers and then relaunch Chrome by clicking this. You will have a leasing and framerate limit disabled. Another tip is that when I play with the SIM, I tend to press F5 to reset the SIM states from time to time.
Sometimes I feel it helps with the engine latency as well. I do give it a try if you see some weird things. Cool, that's it. Hope it helps. Have a sin.