FPVSIM Multi-Kit connects multiple modular timing units to the Timer 4.1 via wired Ethernet, providing 4 or 8-channel event configurations. This article follows the 216-second B-site version instructions for wiring, workspace coverage warnings, pre-filled network settings and OTA firmware paths; "Never Dropped" is the product title and should not be understood to mean that there is no need to monitor the connection status.
The wired, modular structure of Multi-Kit
The FPVSIM Multi-Kit introduced in the video consists of individual plug-in timer modules. Each unit is about the size of a credit card and uses little power. Together, they work with Timer 4.x to manage multi-pilot races. The main connection to a computer or laptop uses wired RJ45 Ethernet; a device without a built-in Ethernet port can use a USB-to-Ethernet adapter. The timing units also need stable USB power.
A wired main connection reduces the control computer’s reliance on venue Wi-Fi. The modular design also lets you replace an individual damaged timer rather than the entire kit. Cables, power supplies, adapters, and individual modules can still fail, however, so “Never Disconnect” in the title describes a design goal and practical advantage, not an absolute guarantee under every event condition.
Creating a 4- or 8-channel configuration overwrites the current workspace
After connecting power and Ethernet, the video opens the FPVSIM multi-pilot setup in Timer 4.1. You can then select a 4- or 8-channel configuration. This replaces the timers in the current Workspace with the kit presets. Before confirming, save your existing workspace configuration, pilot information, and any custom timer settings you need to keep.
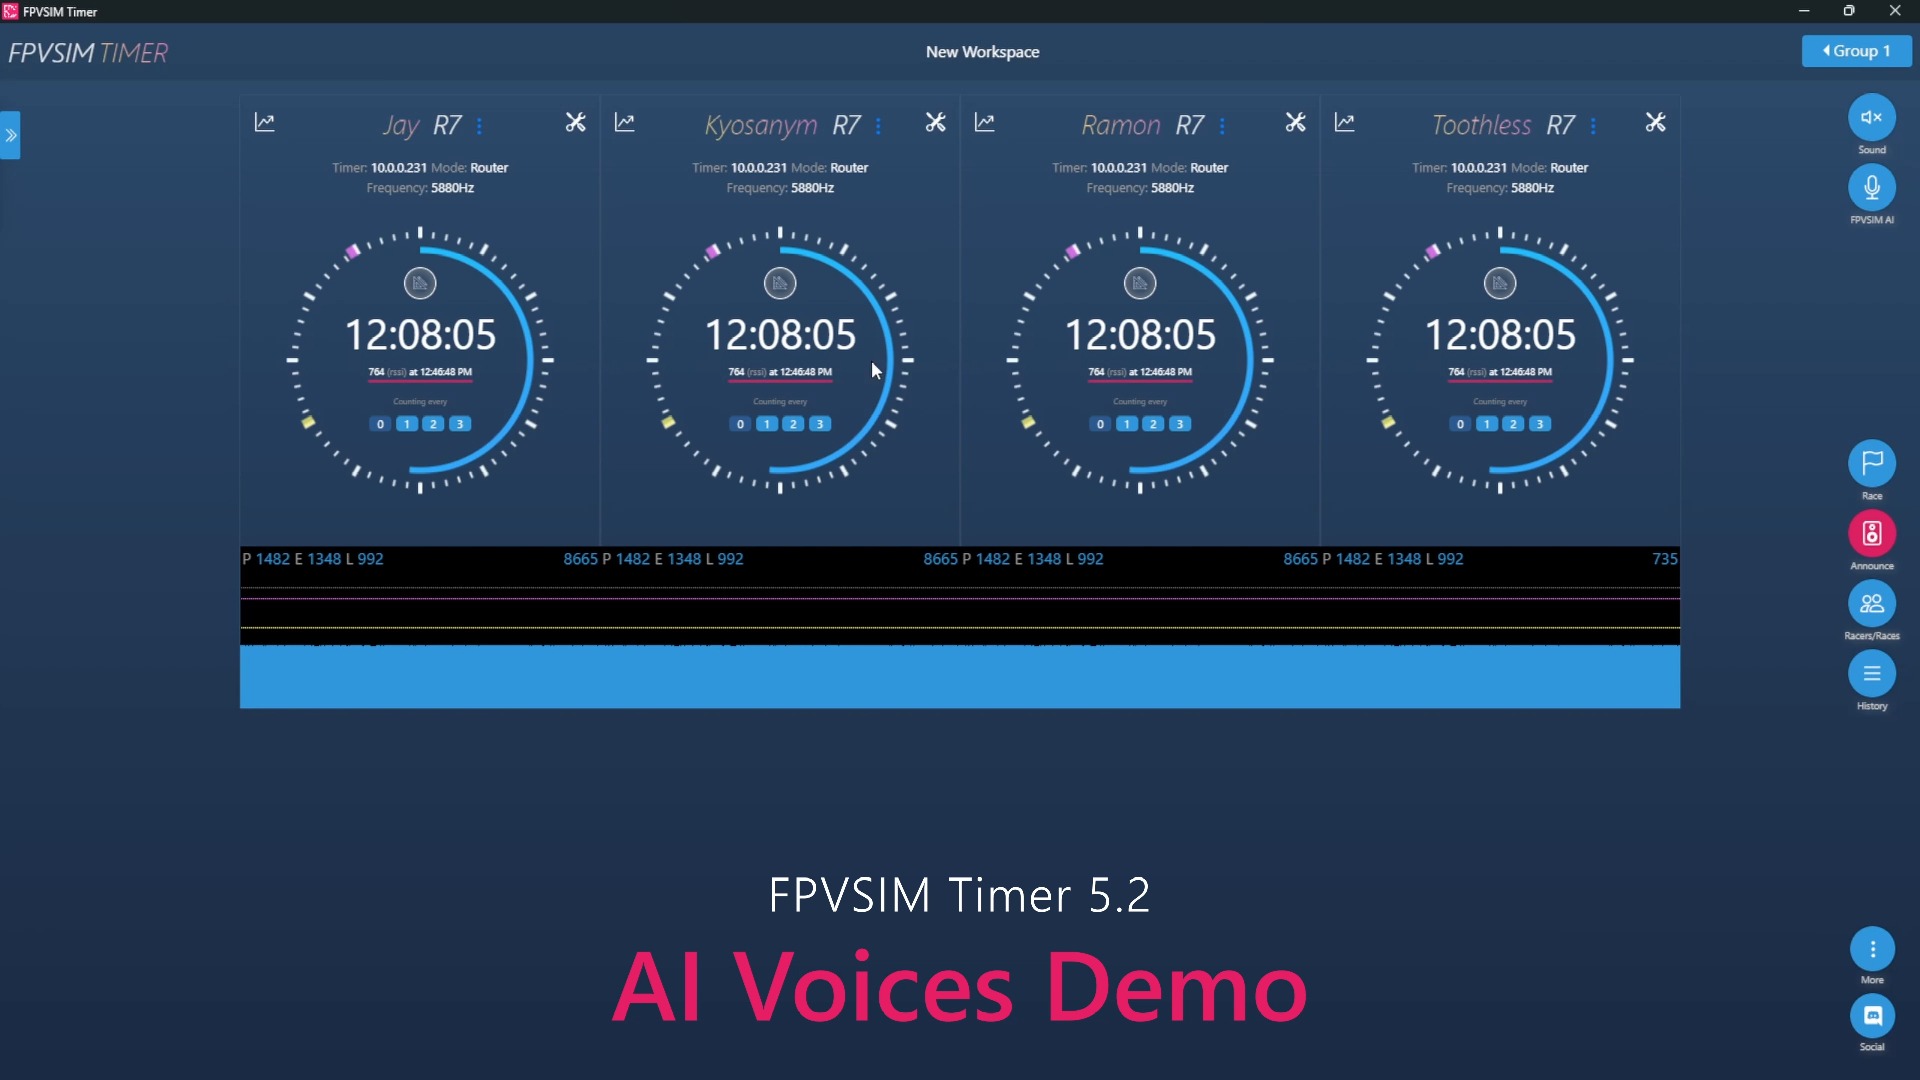
After confirmation, the four timers in the demonstration are added and connected automatically. These menu names and this sequence belong to Timer 4.1; the current version may have a different entry point or wording. Do not click confirmation buttons blindly based on old screenshots. Read the overwrite warning carefully so you do not discover just before a race that the original workspace has been reset.
Do not change the kit’s prefilled network parameters after entering pilots
Once the timers connect, you can enter pilots and continue organizing the race. The video specifically warns against casually changing the Wi-Fi or network settings automatically populated for this Multi-Kit, because units may disconnect. Even with a wired Ethernet main connection, the kit’s internal presets are part of device discovery and communication. Do not replace them freely as you might with an ordinary standalone timer.
The interface connection indicators provide a quick check: in the version shown, red or dark red means connected and gray means disconnected. Check the meaning of the colors in the current version too. Before each round, confirm that every channel is online and perform an actual pass test with the video transmitter. An illuminated computer Ethernet port alone does not establish that every timing module works.
Interference management and firmware maintenance
For wireless interference at the venue, the video offers an optional AP Wi-Fi channel selection. Record the original value before changing channels and test that all units reconnect at a time when the race will not be affected. More frequent channel changes are not inherently better; change them under controlled conditions only after confirming interference or a conflict.
Firmware updates are performed by selecting a downloaded firmware file. At the time of recording, the video also warned that support for the old flashing tool would end and recommended upgrading to firmware with OTA support. That was a migration notice from the Timer 4.1 period. Today, obtain current firmware matching the hardware from official sources, back up settings before updating, maintain stable power, and allow time before the event for rollback and testing every channel.
Operation steps
- Connect power and Ethernet
Supply stable USB power to the timing units, then connect the computer by RJ45 Ethernet. If it has no Ethernet port, use a compatible USB-to-Ethernet adapter. The wiring demonstration begins at about 00:29.
- Open the FPVSIM multi-pilot setup
In Timer 4.1 as used in the video, open the FPVSIM multi-pilot setup. The current version may use a different entry point; follow its interface and documentation.
- Select the channel count and acknowledge the overwrite warning
Choose 4 or 8 channels. Back up the current Workspace before confirming, because this overwrites its existing timer configuration. The warning and creation process are shown at about 01:29.
- Enter pilots and retain the prefilled network settings
Enter pilots after confirming that every module is connected. Do not change the Wi-Fi or network parameters automatically populated for the kit, or units may disconnect.
- Manage channels and firmware when needed
Adjust the AP channel only after confirming interference. Use official firmware files matching the hardware, and update with stable power and a viable rollback option.
FAQ
Will creating the Multi-Kit configuration keep my existing timers?
No. The video explicitly warns that creating the 4/8-channel configuration overwrites the timers in the current Workspace. Back up any settings you need to keep before confirming.
Why should I not freely change the Wi-Fi settings even after connecting by Ethernet?
The kit’s prefilled network parameters still participate in timing-unit communication and discovery. The video warns that changing them can disconnect units. Keep the presets unless current official documentation explicitly calls for a change.
How can I tell whether a module is online?
In the Timer 4.1 demonstration, red or dark red means connected and gray means disconnected. Colors may change between versions. Also perform an actual pass test before a race.
Can I keep using the old flashing tool mentioned in the video?
Do not rely on the old workflow. At recording, the video already warned that support for the old tool would end and recommended migration to OTA firmware. Follow the current official firmware and update instructions.
Full timeline transcript
Transcripts are arranged according to video time, making it easy to quickly locate the explanation content. Transcript language: Simplified Chinese.
Hello everyone, welcome to the official FPVSIM channel. Today I am very happy to introduce our first official FPVSIM multi-pilot timing hardware, FPVSIM Multi-Kit. Its main features are wired Ethernet connectivity and a plug-and-play modular design. You can see four individual timers plugged in here. It is very small, about the size of a credit card, with extremely low power consumption. Combined with FPVSIM 4.0 software—
—it forms the world’s simplest and easiest-to-use multi-pilot timing system, particularly suited to running FPV races. Let us see how to set up the hardware. This will be very short because it is really simple. First, take a powered USB cable and plug it in. You can see the indicator light come on. Then take an Ethernet cable—
—and plug it into the RJ45 socket. Connect the other end to your computer or laptop if it has an Ethernet port. If not, you can use an adapter like this one to connect to wired Ethernet through USB. For the software, download the latest FPVSIM Timer 4.1. After opening it, you will see a new link here for setting up FPVSIM multi-pilot mode. Click it.
There are two buttons: one to set up four timing channels and one to set up eight. We have only four channels here, so click the four-channel setup. A warning appears saying the timers in the current workspace will be overwritten. Click OK. Now four timers have been added to the workspace and connected automatically. You can then begin running your race—
—after entering the pilots, of course. It is that simple. Let us quickly go through some other new features in version 4.1. Click the settings button to open the menu. First, Connect to Wi-Fi: you can see that the Wi-Fi settings are already filled in. If you use this kit, please do not change any settings here, or you may lose the connection to the timing units.
Another update adds AP Wi-Fi channel selection here. If the original channel has heavy interference, for example, try another channel to see whether there is less interference. Another addition is firmware updating. Click here and select the firmware file, which you can download from the official FPVSIM.com website. This updates the firmware without needing a separate app.
We will stop supporting the old firmware flasher at the end of July. Please update to the latest firmware with OTA support, or you will not be able to update the firmware in the future. Another useful addition is the connection indicator. Red or dark red means the connection remains active. If it turns gray, the connection has been lost.
This lets us see the connection status of the timers in the current workspace at a glance. That is everything. Very simple, right? I hope you like this system as much as I do. Happy racing, and see you next time. Bye-bye.