This is a preview of the FPVSIM custom track function, which is mainly about music and graphics. The video shows moving the perspective in a 3D scene, selecting track objects, and moving, rotating, and scaling gates, barriers, and route elements; it illustrates what the editor can do, but does not include the complete saving, checkpoint sorting, and publishing process.
Video editing capabilities actually demonstrated
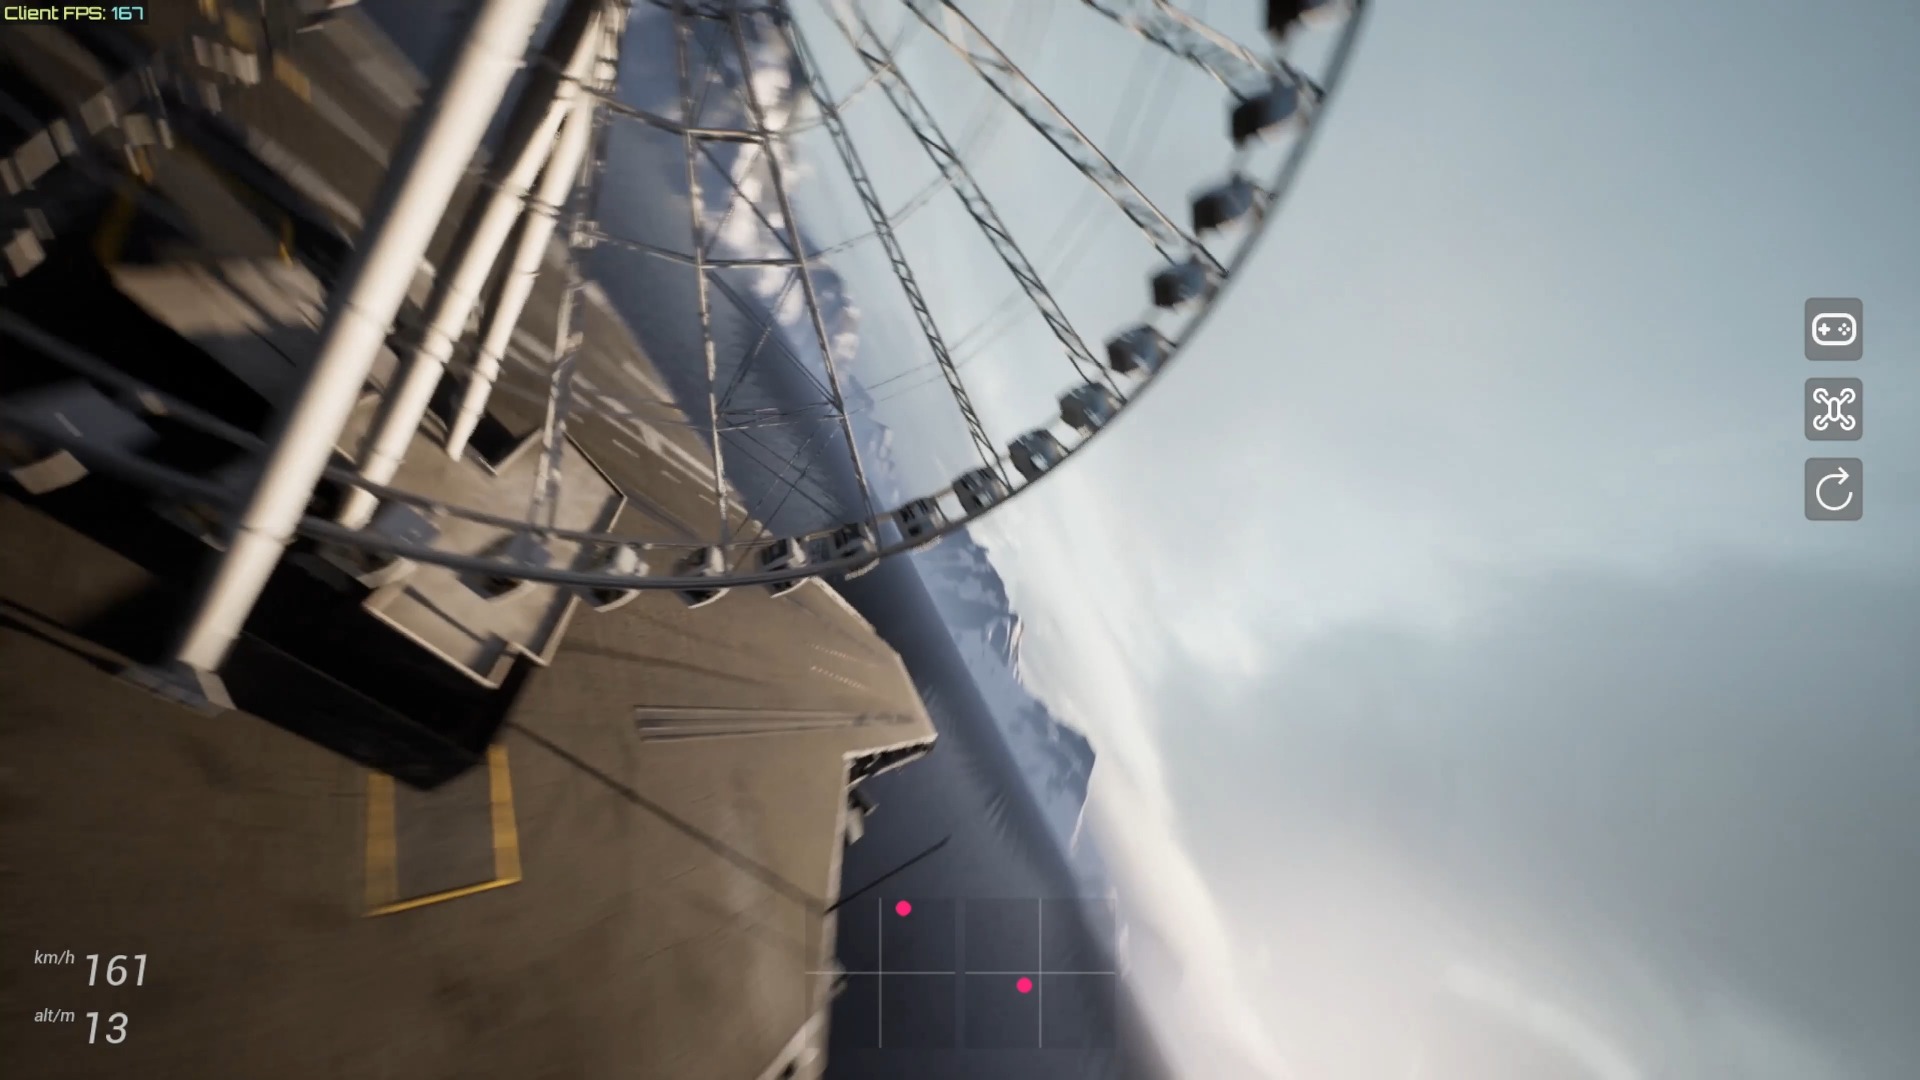
With the editor open, the camera can be moved around the build area to examine the lines from both a bird's-eye view and a close-to-pilot perspective. Toolbars and route controls remain visible, and objects can be repositioned in three-dimensional space after being selected, rather than being placed at fixed points.
The screen continues to demonstrate the rotation and scaling of doors, barriers and related route elements, and the track structure is viewed through the sequence bar. Finally, inspecting the placed obstacles from multiple angles allows the creator to identify orientation, scale, and visibility issues before actually flying them.
Start with simple, verifiable lines
When using it for the first time, it is recommended to start with an editable track that you own or clone, and become familiar with rotation, translation, scaling and selection operations. Establish a starting point and a small number of loosely spaced obstacles to ensure that you can clearly see the next target after flying out of a door, and then gradually increase the technical difficulty.
Altitude wide angles in the editor make distances and door sizes look more generous, so should be verified from an actual flight camera. Only add more obstacles and decorations when the short circuit allows for stable lap recording and no unexpected shortcuts.
Visible objects do not equal a complete countable track
Gates and barriers shape the visual route, but it’s the checkpoints and their order that determine whether a crossing counts for lap time. A complete production must confirm that every necessary location is properly covered, that the route list is consistent with the expected lap sequence, and that common detours and shortcuts are tested.
This short does not show the step-by-step process of cloning, saving, checkpointing, piloting, and publishing, so button locations or the complete workflow should not be inferred from the footage alone. When it's time to publish a track, you should continue checking out the full custom track tutorial.
Make the track easier to read
Door size should be based on flight camera observation; provide clear visual cues for the next obstacle after exiting the bend. Barriers can be used to explain routes, but too many objects can obscure the next door.
Save named iterations that fly the intended route and possible shortcuts separately. In this way, even if the subsequent layout deteriorates, we can still return to a version with stable lap recording.
Operation steps
- Enter the 3D track editor
The screen opens to an outdoor scene, displaying object tools and route controls.
- Move the perspective to check the construction area
Rotate, pan, and zoom around the scene to view the intended path from multiple directions.
- Select and move track elements
Select doors, barriers or route-related objects and reposition them in three-dimensional space.
- Rotate and scale objects
Adjust orientation and size so the obstacle fits the intended flight line and observe the sequence bar.
- Check the overall layout from different angles
Add more obstacles and switch the camera to see the track structure and visibility.
FAQ
Does this short video include the complete publishing steps?
Not included. It is a visual feature preview; cloning, checkpoint sequencing, saving, piloting, and publishing should be referenced for the full custom track tutorial.
Why is it recommended to clone or use your own track first?
Independent copies protect the original completed layout and make it easy to save multiple recoverable versions while learning editing tools.
Can I record laps normally if I place visible obstacles?
Not necessarily. Correct checkpoint coverage and sequence determine whether the crossing counts towards the lap time and must be verified through real test flights.
Why does it look wide in the editor but very narrow when flying?
The editor's high-altitude wide angle changes the sense of scale. Door size, turning space and next target visibility should be judged from actual flight cameras.
How complex should your first custom track be?
First make a short route with a clear starting point, few obstacles and sufficient spacing, and then increase the complexity after confirming that the checkpoints and circle sequence work stably.
Transcript description
There is no timeline transcript available for publication for this video.
Auto-transcription did not detect credible and understandable speech; this article is only compiled based on video footage and official introduction.