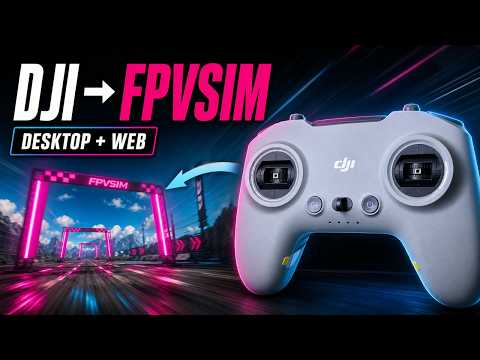
Set Up a DJI Controller for FPVSIM
Connect and configure a compatible DJI controller so its sticks and switches work correctly in FPVSIM.

Connect, map, and calibrate a PlayStation 4 controller for smooth flying in the FPVSIM drone simulator.
This walkthrough connects a DualShock 4 controller to FPVSIM, calibrates it in the desktop simulator, and repeats the process in the browser simulator. Calibration teaches FPVSIM the usable range and direction of every stick axis, so complete it before judging how the controller feels in flight.
Plug the Micro-USB cable into the DualShock 4 and the computer. In the video, the controller shows a blue light and Windows plays its device-connected sound.
Launch FPVSIM, open Options, and choose Calibrate Gamepad.
Move both sticks through their complete travel. This establishes the minimum, maximum, and center values available from the controller.
Move throttle, roll, pitch, and yaw in the direction shown by the calibration guide. Follow the labels on screen instead of assuming a particular radio mode or stick layout.
Complete calibration, return to the simulator, and make a short test flight. If an axis is reversed or does not reach full travel, run calibration again.
Start the FPVSIM browser simulator, open Settings, and select Controller. Move a stick so the page can detect input.
Choose Compatibility mode for the DualShock 4. The tutorial notes that High-speed mode is not supported by this controller.
Select Start calibration, move both sticks through their full range, and then move roll, pitch, yaw, and throttle as the on-screen diagram requests.
Finish calibration and make a gentle test flight. Reconnect the cable and repeat pairing if the input display stops responding.
This transcript has been cleaned for clarity while preserving the sequence and meaning of the tutorial.
00:00–00:37
Let us look at how to calibrate a PS4 controller with both the FPVSIM desktop and web simulators. This is a DualShock 4. Connect it with a Micro-USB cable. When the controller shows its blue light and the computer reports that a device connected, it is ready.
00:38–01:15
In the desktop simulator, go to Options and choose Calibrate Gamepad. Follow the instructions: move both sticks through their range, then move the requested throttle, roll, pitch, and yaw axes. Once those prompts are complete, the controller is calibrated.
01:16–01:50
The video makes a short flight to confirm that the controller now operates the drone. That completes the desktop setup.
01:51–02:27
Next, open the FPVSIM web simulator. Go to Settings and then Controller. Move a stick so the page can see the device. For this PS4 controller, select Compatibility mode because High-speed mode is not supported.
02:28–02:52
Start calibration and move both sticks as you did in the desktop version. Follow the small diagram: move roll, pitch, yaw, and throttle to the requested positions. When the sequence finishes, calibration is complete.
02:53–03:24
The controller can now fly in the browser simulator as well. It may take practice to become comfortable with gamepad-sized sticks. If you run into a problem, leave a comment on the video or ask in the FPVSIM Discord community.
The cable may provide power without data. Try a verified data-capable Micro-USB cable, reconnect the controller, and test another USB port.
Choose Compatibility mode for the DualShock 4 shown in this tutorial. The video explicitly notes that High-speed mode is not supported by this controller.
Yes. The tutorial runs the calibration workflow in each version so that each environment learns the controller's ranges and axes.
No. It demonstrates a wired USB connection with a Micro-USB cable.
Run calibration again and follow the axis labels carefully. Move each stick through its full travel before completing the directional prompts.
Keep learning
Connect and configure a compatible DJI controller so its sticks and switches work correctly in FPVSIM.
Remove browser frame-rate limits and tune Chrome VSync settings for smoother, lower-latency FPVSIM flying.

